
When you talk about ecommerce platforms, the one word that comes to mind is Magento. That’s because it is one of the best ecommerce platforms owing to its large number of features, security, and support, etc. Launching a Magento store can be a task, though, but I’m here to make it all easy for you with a Magento 2 launch checklist!
Today, I will discuss the checklist that you require after developing a Magento 2 store and before taking it Live.
- System Requirements
- Latest Version
- Prepare HTML Head
- Shipping Methods
- Payment Methods
- Taxes
- Cron (Scheduled Tasks)
- Correct Store Information
- Change Admin URL and Secure Passwords
- Clear Test Data
- Enable Varnish Cache
- Javascript and CSS Optimization
- Images Optimization
- Email Templates
- CMS Pages
- 404 Error Page For Your Magento Store
- Analytics Google
System Requirements
Magento is the most powerful ecommerce store so before launching it, the first thing which we have to consider are System Requirements.
| Operating System | Linux distributions such as RedHat Enterprise Linux (RHEL), CentOS, Ubuntu, Debian, and so on. |
| Composer | To develop Magento extensions or anyone who wants to contribute to the Magento 2 codebase, composer is needed. It is highly recommended to use the latest stable version of composer. |
| Web servers |
|
| Database |
|
| PHP | Magento 2.0
Magento 2.1
|
| Required PHP extensions |
PHP 7 only:
|
| SSL | A valid security certificate is required for HTTPS. |
| Mail server | Mail Transfer Agent (MTA) or an SMTP server. |
| Redis | Version 3.0 for page caching and session storage (the latter supported by Magento version 2.0.6 and later only) |
| Varnish | Version 3.5 or latest stable 4.x version for page caching |
| Memcached | Latest stable version for session storage with either memcache or memcached PHP extensions (latest stable version) |
You can also check Magento 2.0.x and Magento 2.1.x technology stack requirements.
Latest Version
Before taking your store Live, make sure that your store is using the latest Magento version with the updated security patch. If not, then check out the Magento 2 update guide.
Prepare HTML Head
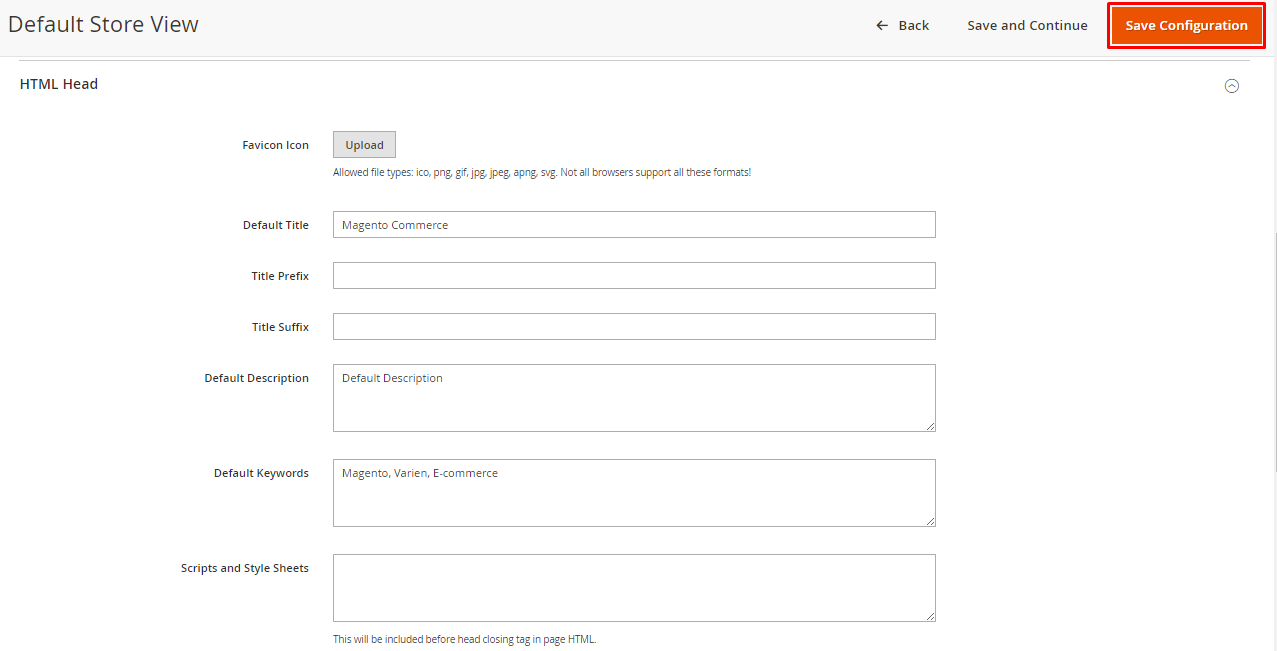
Go to Content → Configuration from the Admin panel of your store and click on Edit.
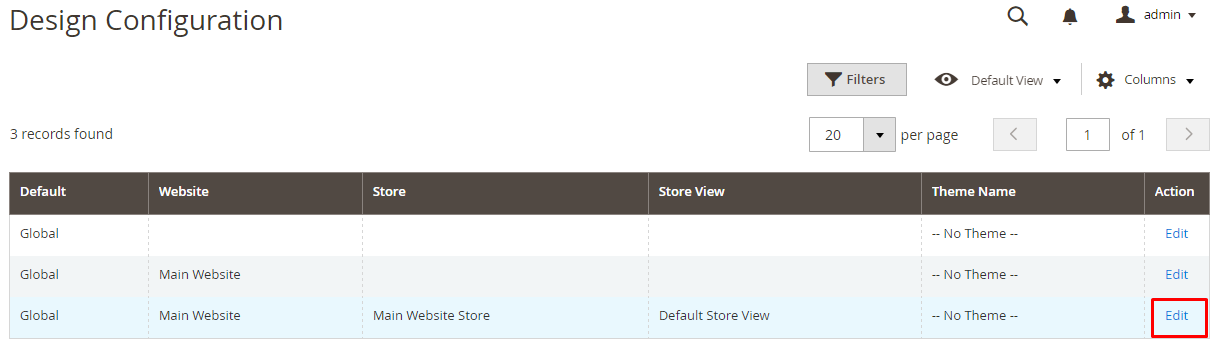
Here, you can upload the favicon which is the identity of your store which can also be used in the web browser bookmarks list. You can also set the meta description and review the SEO keywords of your store. At last, click on Save Configuration.
Shipping Methods
Make sure that all the Shipping methods are configured properly which will used by the company.
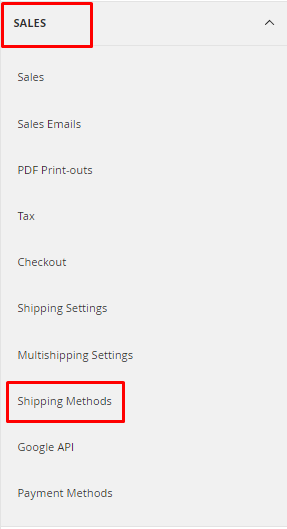
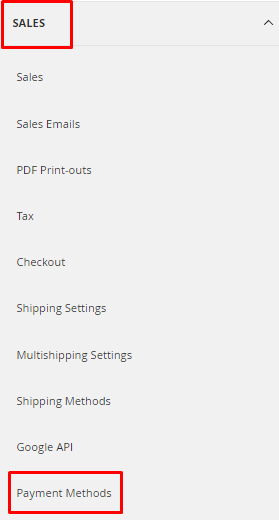
To configure, go to STORES → Configuration from the Admin panel of your store and then click on Shipping Methods under SALES tab.
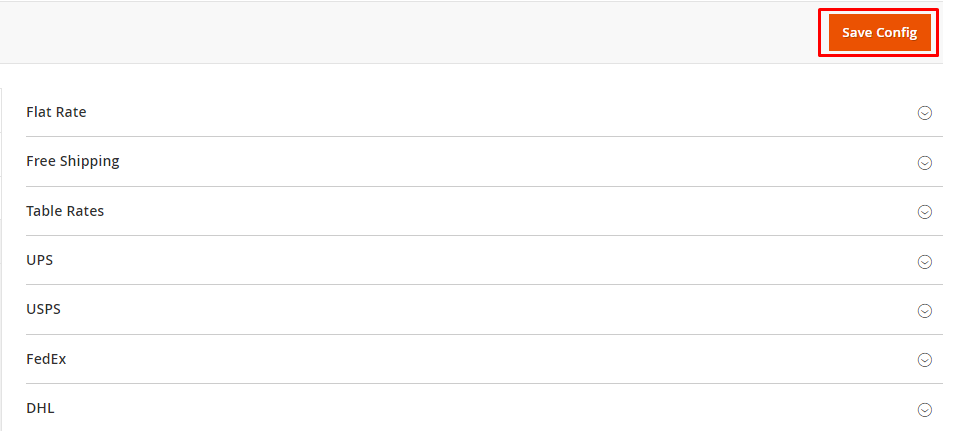
Here, configure the Shipping Method and click on Save Config.
Payment Methods
Make sure that all the payment methods that you want to use are enabled and properly configured.
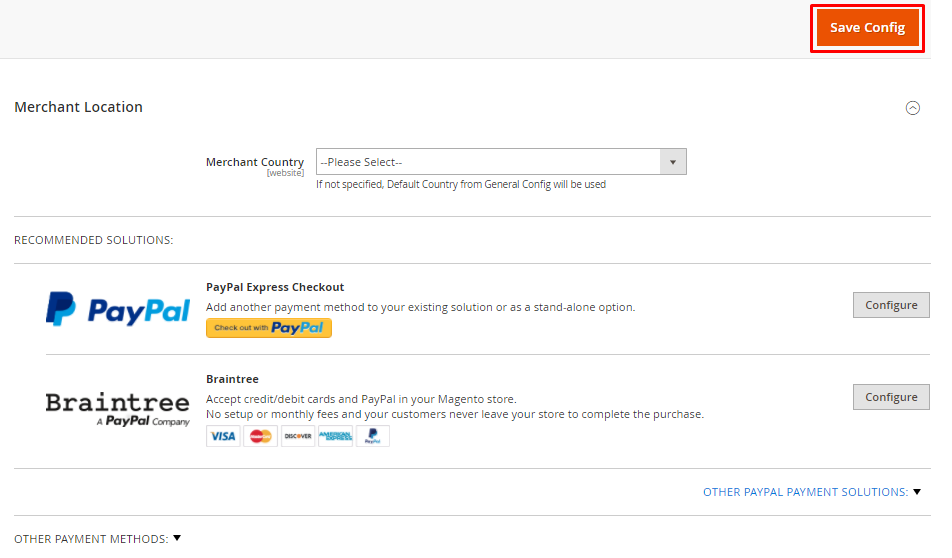
To configure it, go to STORES → Configuration from the Admin panel of your store and click on Payment Methods under the SALES tab.
Here, configure the Payment Method and then click on Save Config.
Taxes
Before launching Magento 2, check that the tax rules are configured properly according to your business rule and requirements.
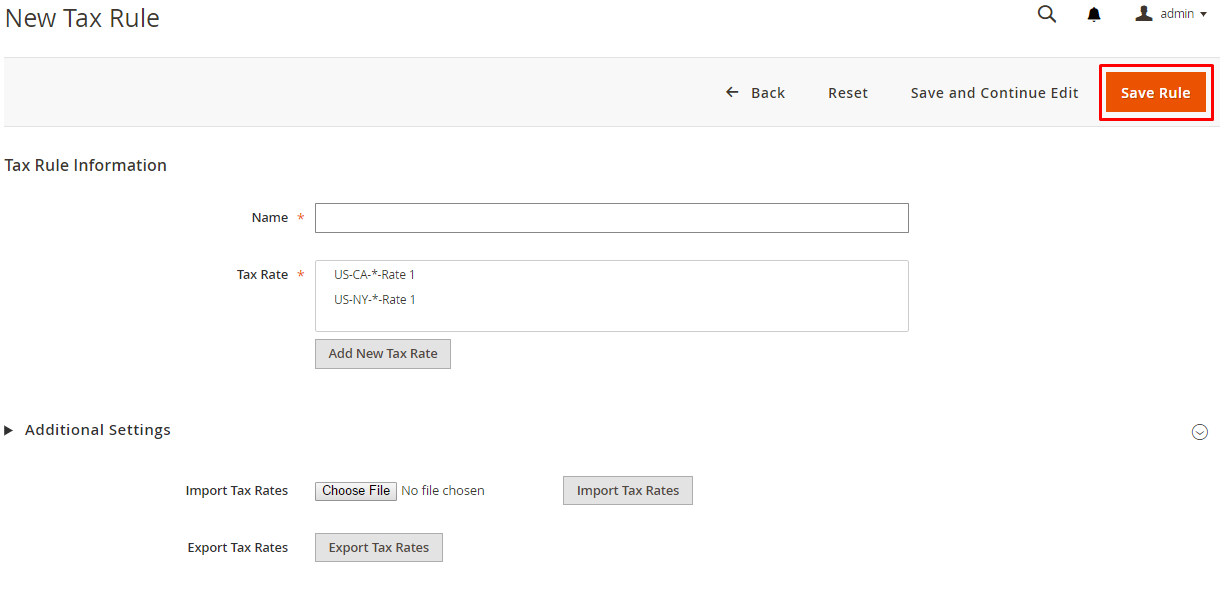
To configure it, go to STORES → Tax Rules from the Admin panel of your store and then click on Add New Tax Rule.

Here, set the rule and click on Save Rule.
Cron (Scheduled Tasks)
Make sure you schedule the task and activities via Cron. You can also check the guide to Setup Cron Job in Magento 2 using a custom module.
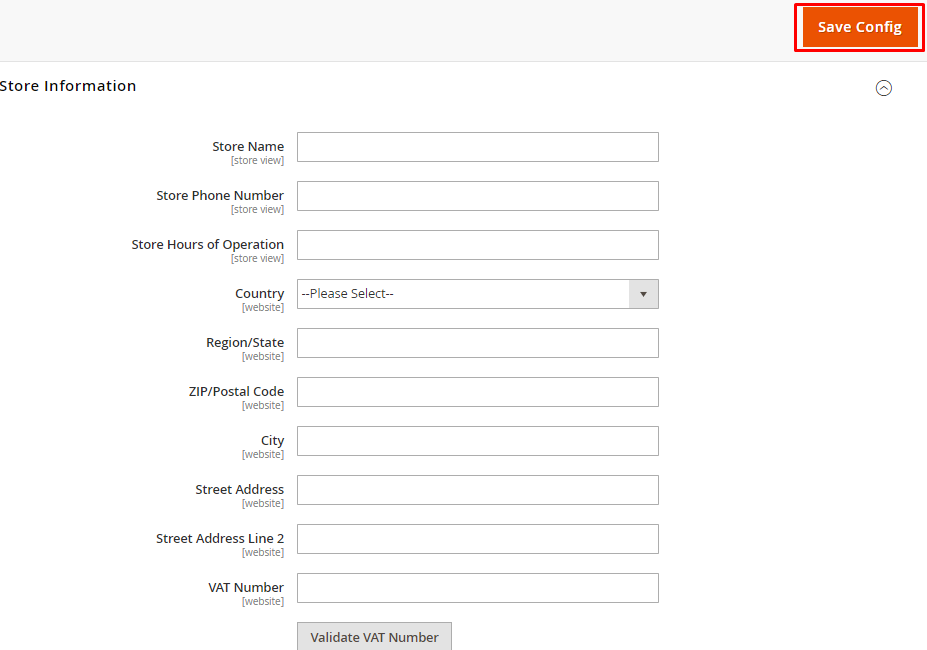
Correct Store Information
Go to STORES → Configuration from the Admin Panel of your store and click on General under the GENERAL tab.
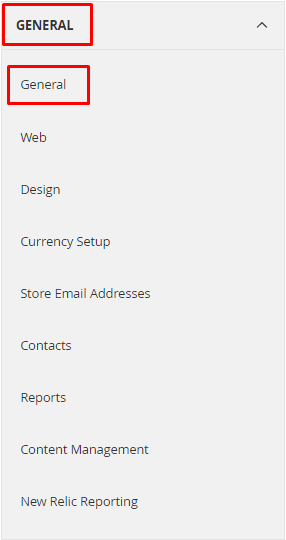
Now unfold the store information section, enter the Store details and click on Save Config.
Change Admin URL and Secure Passwords
By default, your admin panel URL is /admin. It is highly recommended to change it in order to make it secure. There are multiple methods to do it. Here’s a complete guide to change the Admin URL in Magento 2. For security purposes, it is also recommended to set a unique password for Magento Admin.
Clear Test Data
Clear all unnecessary data from the store which you may have added during its development phase like sample product and categories, etc.
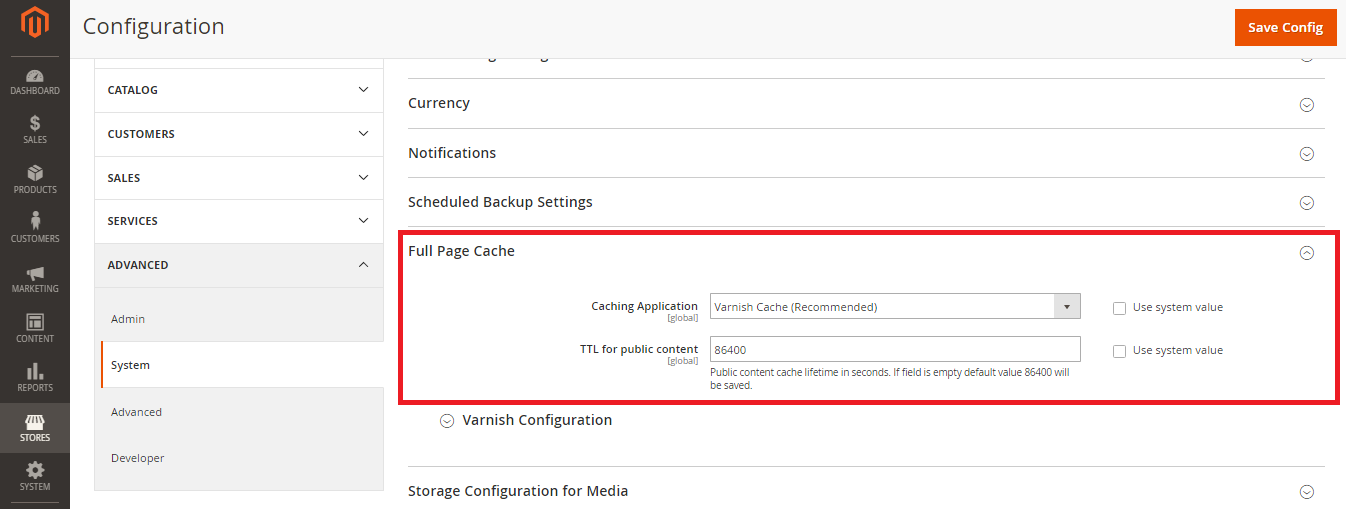
Enable Varnish Cache
Go to STORES → Configuration from the Admin panel of your store and click on System under the Advanced tab. Now unfold the Full Page Cache section and change Caching Application field to Varnish Caching.
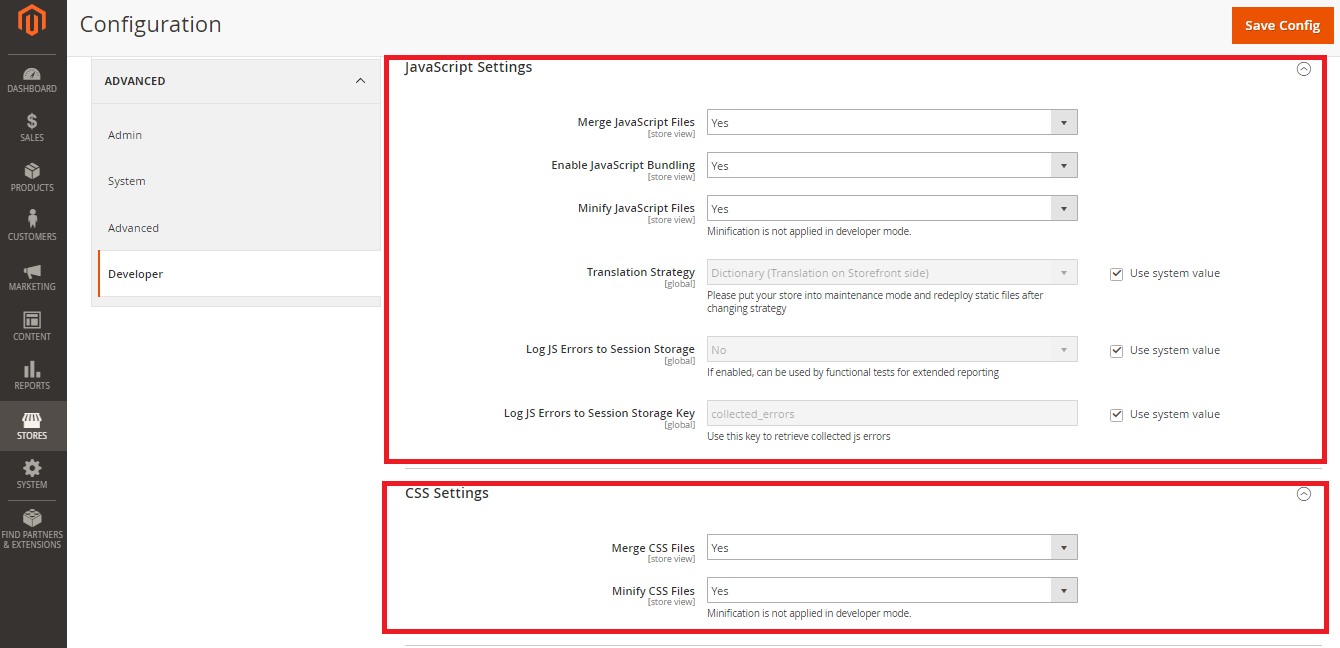
Javascript and CSS Optimization
Go to STORES → Configuration from the Admin panel of your store and click on Developer under the Advanced tab. First, unfold Javascript Settings section and select Yes from the Merge JavaScript Files, Enable JavaScript Bundling and Minify JavaScript Files dropdown options.
Then unfold the CSS Settings tab and select Yes from the Merge CSS Files and Minify CSS Files dropdown options.
Images Optimization
The speed of the store is also one of the main point to consider before launching a Magento 2 store.Hence, all images should be fully optimized.
Email Templates
The email template of your store must emulate your Brand. You can check the guide to customize the email templates in Magento 2.
CMS Pages
Make sure you have added and customized all the CMS pages correctly, like Contact Us and Privacy Policy etc.
404 Error Page For Your Magento Store
Edit the 404 error page and add content according to your requirement before taking the store live.
Google Analytics
At last, don’t forget to connect your store with Google Analytics in order to analyze the traffic and sales on your store.
Conclusion
With this Magento 2 launch checklist, your store launch can go hassle free! If you think something is missing in this checklist, drop it in the comment below!


