Magento 2 Tutorials 
Step by Step Guide for Magento WordPress Integration
- Syed Muneeb Ul Hasan
- October 5, 2018
Magento is one of the best e-commerce platforms. There is no doubt about it. However, to ensure that your Magento store is successful, you need to attract a lot of online traffic. There are many ways to drive traffic to your store but nothing works better than a blog. And we all know which platform is the best for a blog: WordPress, of course!
With the help of a blog, you not only get traffic but you can also share new updates, announcements, and write anything about your product or service in detail. And its promotion will increase your brand exposure.
If you are thinking, “is it possible to integrate WordPress in Magento?” the answer is: Yes, it is possible!
In this tutorial, you will learn about Magento integration with WordPress. For this, I will use FishPig WordPress Magento integration module. They offer modules for both Magento 1.x and Magento 2.x.:
So, I will show the process for both Magento versions.
Let’s start!
Steps to Follow
- Install WordPress
- Install Magento WordPress Integration Module
- Install Magento 2 WordPress Integration Module
- Configuration in WP
Install WordPress
- Go to WordPress Official and Download the latest version.
- Upload the zip folder in your Magento 2 root directory.
- Extract the archive folder and you will get a folder named wordpress
- Rename the wordpress folder as wp.
Now open the web browser, insert your Magento store URL, and add wp/ at the end of the URL. For example http://www.example.com/wp/
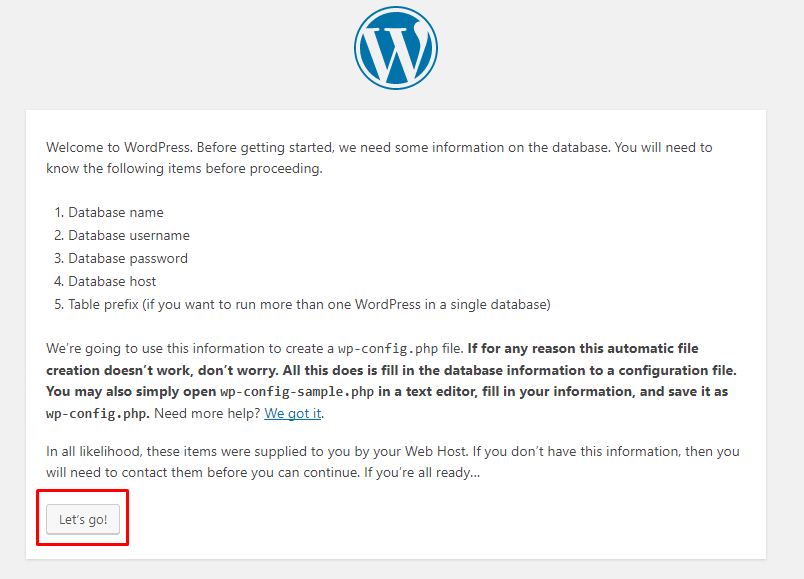
The WordPress installation screen will open. Click on Let’s go!
Insert the database details. Enter your existing Magento database details and click on Submit. For Magento 1.x details, go to app/etc/local.xml and for Magento 2.x details, go to app/etc/env.php from your online store’s root directory:

Note: You can also create a new database for your WordPress and add the details.
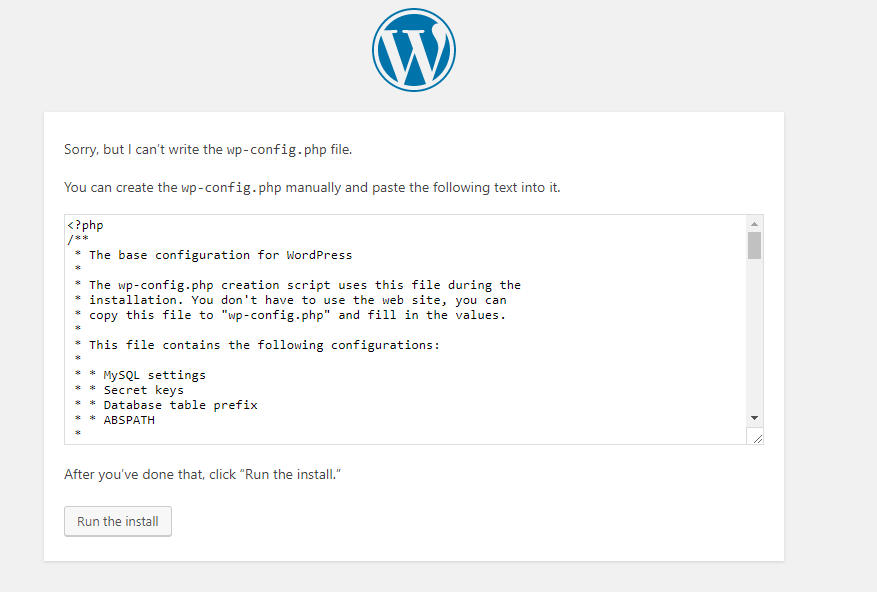
If you get the following error (shown in the image below), just create a wp-config.php file in your wp directory. Now copy the code that appears on the screen and paste it back into a wp-config.php file. Now just click on Run the Install:
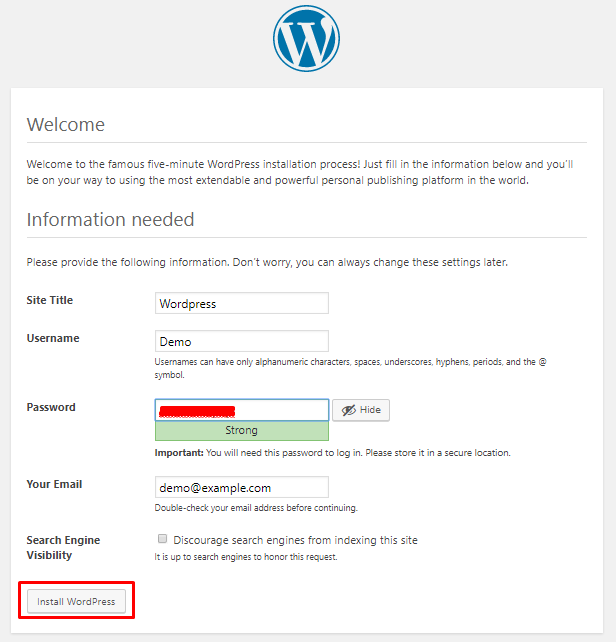
Now you should be on the Welcome page. Enter your WordPress details and click on Install WordPress:
Install Magento WordPress Integration Module
Download the FishPig Magento WordPress Integration module and extract the archived folder. Upload the unzipped folders and files into the root directory of your Magento 1.x store.
Navigate to the admin panel of your store and click on WordPress option from the panel on the top. You will see the following options. You have to configure two options: Database and Integration:
 First, unfold the Database section:

Next, unfold Integration section:

Now click on Save Config button:
![]()
Note: You will see some yellow and red warning messages, but don’t worry they will get resolved after the following steps.
Install Magento 2 WordPress Integration Module
Go to the app folder from the root directory of your store and create directories: code/FishPig.
Download the FishPig Magento WordPress Integration module and extract the archived folder. You will get the folder magento2-wordpress-integration-master; rename it to WordPress. Upload this WordPress folder in your Magento store at app/code/FishPig.
Now run these commands in the root directory of your store:
php bin/magento module:enable FishPig_WordPress
php bin/magento setup:upgrade
php bin/magento setup:di:compile
php bin/magento cache:clean
php bin/magento cache:flush
Navigate the admin panel of your store and click on WORDPRESS option from the panel on the left. Make sure it is enabled and the path is wp as shown:
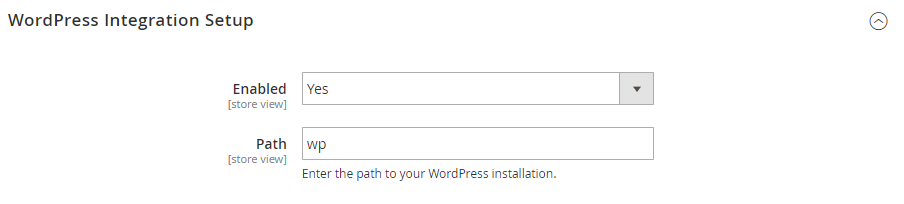
Then just click on Save Config button:

Note: You will see some warning messages, but they will resolve automatically after following the next steps.
Copy FishPig Theme
- Copy wptheme folder from app/code/FishPig/WordPress from the root directory of your store.
- Now go back to your root directory and paste wptheme in wp folder at location wp/wp-content/themes. Rename the wptheme folder as fishpig.
Configuration in WP
Login to your admin panel of your WordPress and then go to Settings → General. Change the Site Address (URL) from http://example.com/wp to http://example.com/blog.
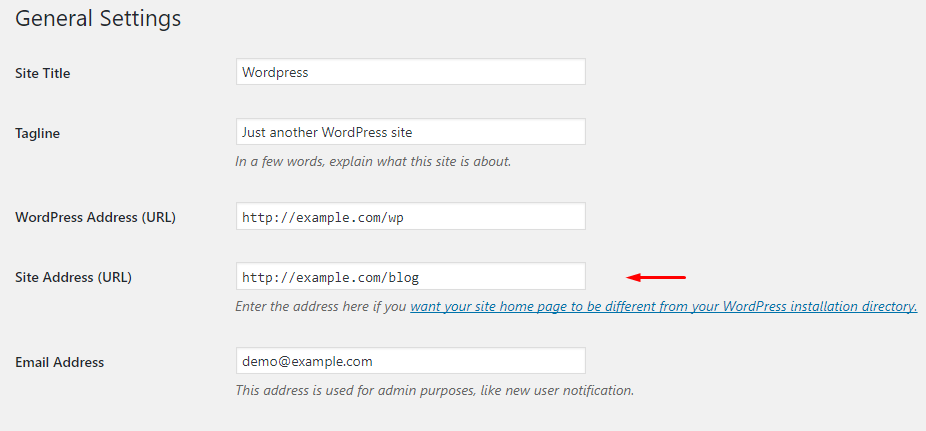
Now just click on Save Changes:

Magento integration with WordPress is now done. If you’re using Magento 2.x then follow the step mentioned below, otherwise, skip this step:
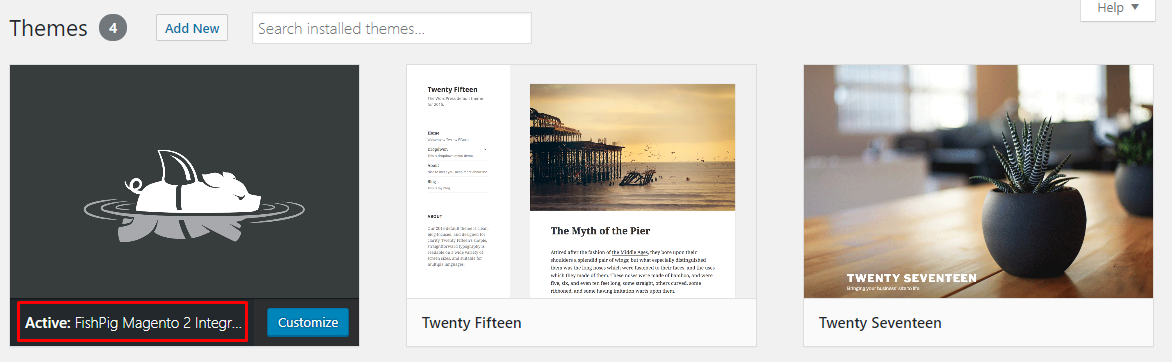
Go to Appearance → Themes and activate the FishPig Theme:
And you’re done! Open your store’s frontend by adding blog at the end of its URL like http://example.com/blog and you will see your WordPress blog successfully integrated into your store:
Magento 1:
The image below shows that the FishPig Magento WordPress Integration module is successfully deployed:
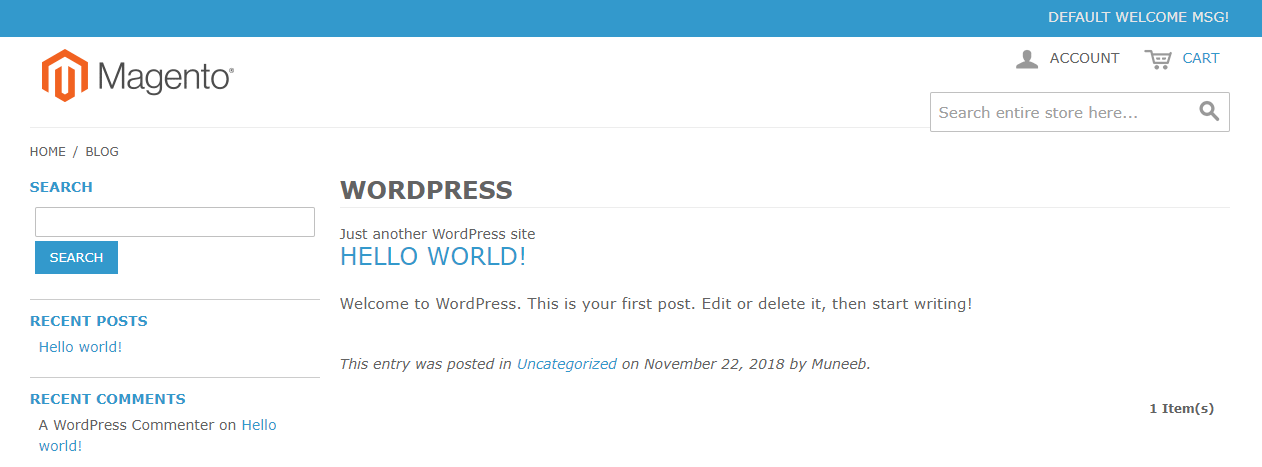
Magento 2:
The image below shows that the FishPig Magento 2 WordPress Integration module is successfully deployed:

Final Words
Having a blog integrated within your Magento store is a great way to get the attention of users and as a result, you will get traffic to your store. And of course, higher traffic on store means higher chances of sales.
After following this guide, you must have now learned about Magento WordPress Integration and Magento 2 WordPress Integration. Use your blog to guide your readers towards better buying decisions and keep them at the edge of their seats about new updates regarding your store.
Still, have confusions? Leave a comment below and I’ll get back to you as soon as possible.


