Sitemap is a plain text XML file that contains the link to all of the pages on your Magento store. A sitemap helps search engine crawling bots in indexing of your store. Organizations tend to use sitemaps to find the pages that web crawlers might ignore. You can also configure it to index images of the store. This results in good SERP.
Therefore, it is necessary to keep sitemap page updated as frequently as the content on your store changes. Generating a Magento Sitemap also improves the SEO of your online store.
In Magento 1.x stores, this option known as Google Sitemaps which is located in the Catalog Menu. However, in Magento 2, things have changed a bit. Therefore, in this guide, I will elaborate about how you can generate Magento Sitemap. I will cover the method for both platforms: Magento 1 and Magento 2 respectively.
Generate Magento Sitemap
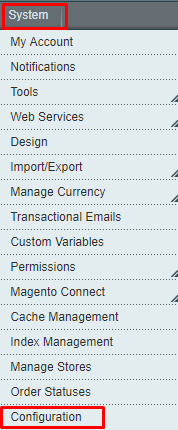
Go to the admin panel of your store and then navigate to System → Configuration from the top menu options:
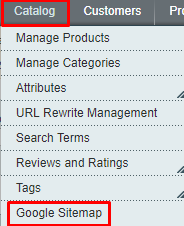
Now click on Google Sitemap under CATALOG tab on the left side of the configuration page:

Here you will see multiple sections:

I will explain each of these sections separately. First in the line is Categories Options:
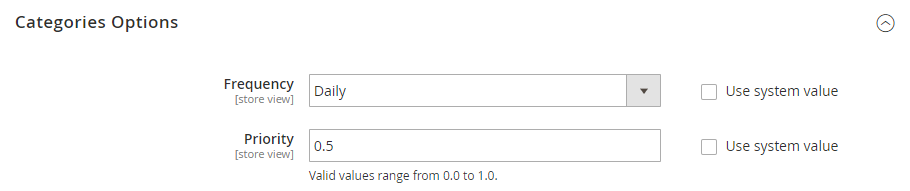
Frequency: Set the frequency of Magento Sitemap for the categories. Select any one from drop-down options – Always, Hourly, Daily, Weekly, Monthly, Yearly, or Never.
Priority: Enter a value from range 0-1, where 0 means low priority and 1 means a high priority.

Now move to the next section, Products Options. Set the Frequency and Priority for new products:

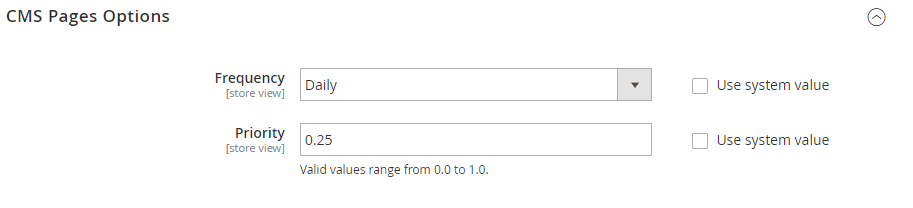
Next section is CMS Pages Options. Here set the Frequency and Priority for new CMS pages:

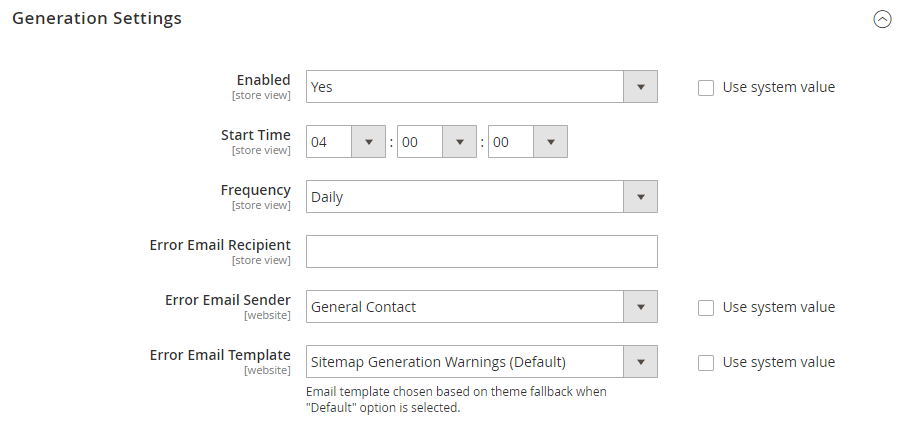
Now move to the last section, Generation Settings:
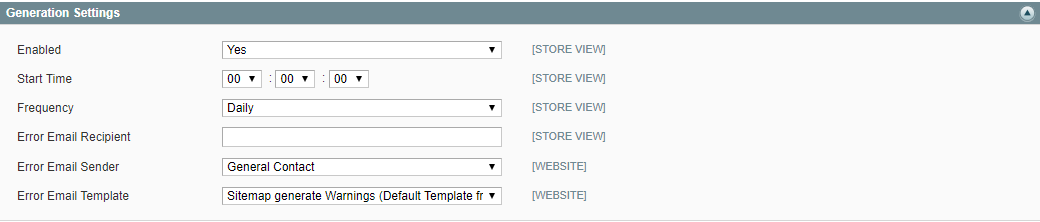
Enabled: Select Yes from a drop-down menu
Start Time: Set time when you want to update the sitemap.
Frequency: Set the frequency
Error Email: Recipient: Enter an email address in the Error Email Recipient field to receive notifications about the Sitemap update.
Error Email Sender: Select the sender from drop-down menu.
Error Email Template: Select the error email style and content from the drop-down menu.
At last, just click on Save Config button from the top of the page:
![]()
Now navigate to Catalog → Google Sitemap:
Enter the required details and then click on Save & Generate button.
Filename: Enter sitemap.xml in its field.
Path: Enter the path for your Magento Sitemap. If you want to put the sitemap in a folder, then add the path to the folder like /sitemap. However, if you want to put the sitemap to your store’s base path then just add slash /

Generate Magento 2 Sitemap
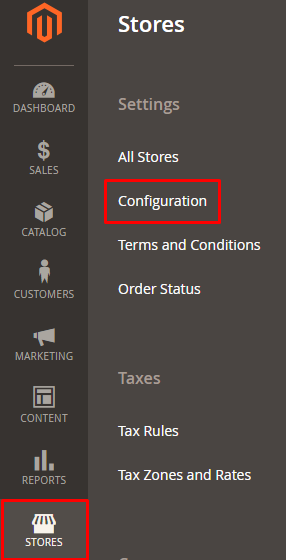
Launch the admin panel of your store and then navigate to STORES → Configuration:
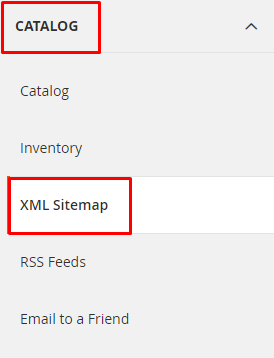
Now click on XML Sitemap under the CATALOG:
Here you will see the four sections as in Magento 1.x along with one new section, Sitemap File Limits:
Now first open Categories Options section and set it in the same way as in Magento 1.x:
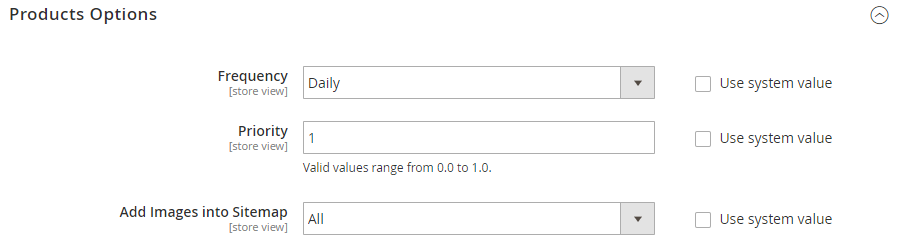
Then move to Product Options section. Here everything is same as in Magento 1.x and you can also allow product images into your Magento 2 Sitemap:
Now open CMS Pages Options section and set it in the same way as in Magento 1.x:
Then go to Generation Settings section and configure in the same way as in Magento 1.x:
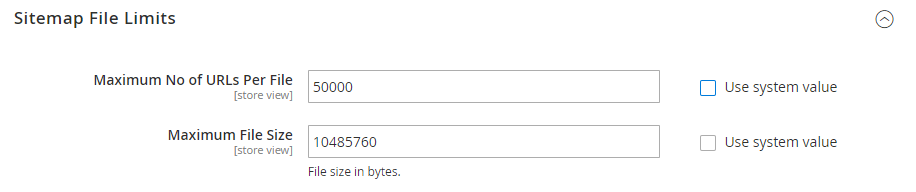
The next section is Sitemap File Limits which is different from Magento 1.x. From here you can set the limit of URLs per file and the maximum file size:
The last section is Search Engine Submission Settings. To add a reference of your Magento 2 Sitemap to the robots.txt file , just select Yes from Enable Submission to Robots.txt drop-down menu:
See: How to Configure Magento Robots.txt

All done. Now Hit the Save Config button:

Wrapping Up
SEO is an essential part of the success of an ecommerce store. A number of SEO best practices focus on improving SERP positioning of your ecommerce store. Out of these creating a SiteMap is a successful SEO tactic that adds value for both the search engine and the site visitors. I highly recommend creating and updating the SiteMap of the store on a regular basis
After following this tutorial, you are now able to generate Magento Sitemap and Magento 2 Sitemap. Do you still have any confusion or want to discuss anything related to Magento Sitemap? Just leave a comment below.


