
Ecommerce is one of the most trending businesses in the world. However, to turn your online store into a success, you need to implement tactics to help in bringing lots of traffic to your online store. If your store gets a high volume of traffic, there are better chances that your products will sell more.One of the best ways to bring more traffic to your ecommerce store is through a blog.
Since Magento is one of the most popular and feature-rich ecommerce platforms available, It has many great features, but, unfortunately, it does not have a blog by default. But the good news is that you can set up by using Magento 2 blog extension.
In this tutorial, I am going to teach you exactly how to do that, so let’s add a blog in Magento 2. I will use the Magefan Magento 2 Blog extension which you can download from here.
After downloading the extension, let’s move to setting it up!
Setting Up Magefan Magento 2 Blog Extension
Flush and Disable Cache
Launch the Admin panel of your Magento 2 and go to System → Cache Management:
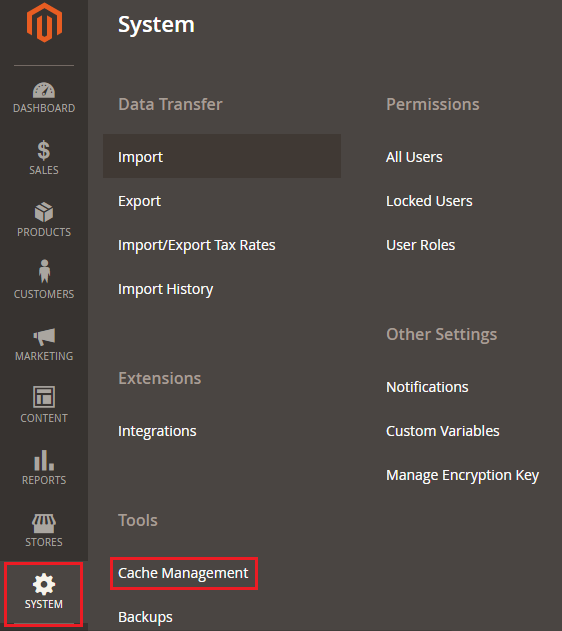
Now click on Flush Magento Cache and then disable all cache.

Add Magefan Blog Extension
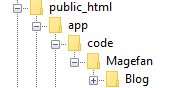
Now go to the root directory of your Magento 2 store and explore the app directory. Create these directories under it: code/Magefan/Blog. You can use FileZilla to do this. The directory structure will now look like this:
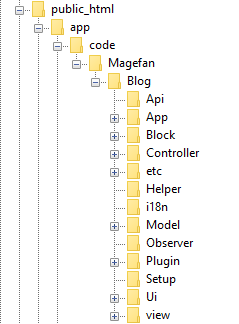
Now copy all the folders and files from the Magefan Magento 2 Blog Extension archive which you downloaded and paste it into app/code/Magefan/Blog. The final directory structure will now look like this:
Run Commands
Connect your Magento 2 store with SSH terminal and then go to its root directory. Now run the following CLI commands:
Run this command to upgrade the setup first:
php bin/magento setup:upgrade
Then upgrade the database schema by running this command:
php bin/magento setup:db-schema:upgrade
Now compile the setup using this command:
php bin/magento setup:di:compile
Lastly, deploy the static content with this command:
php bin/magento setup:static-content:deploy
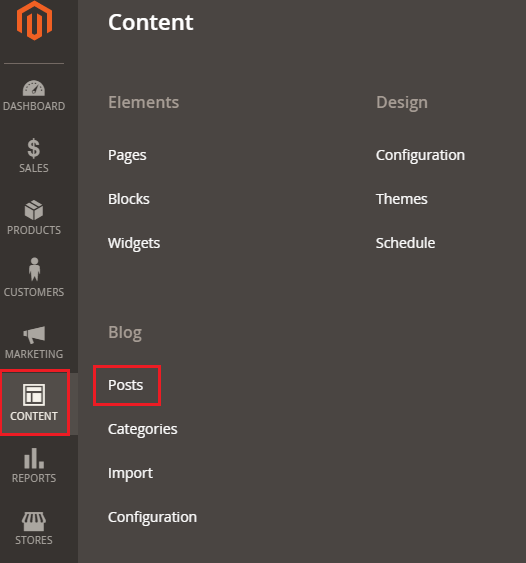
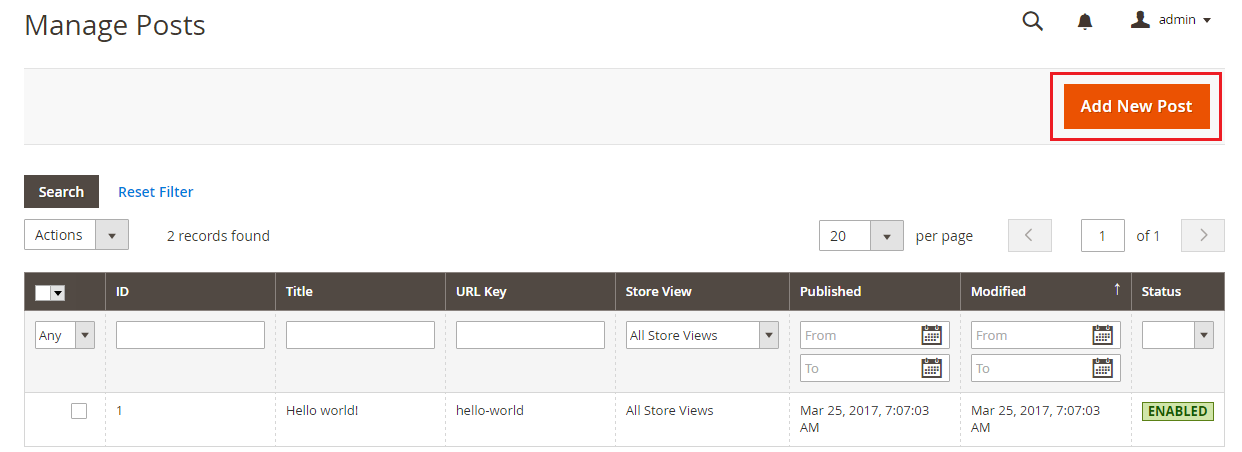
Add Post
Now it’s time to add a new post, so go to CONTENT → Posts from your store’s admin panel:
Hello world post is already added by default; Click on Add New Post.
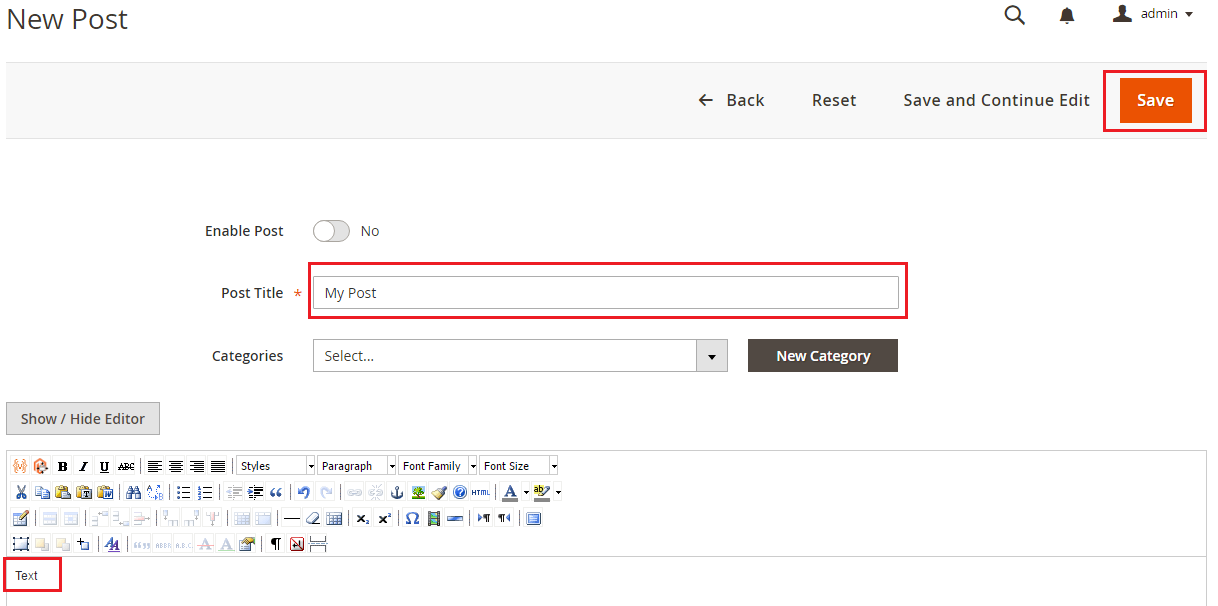
Enter the Post Title and Description for the post. Then just click on Save from top of the page:
Now it’s time to check the result, go to the homepage of your Magento 2 store and click on the menu option for Blog, and you will see this result:

It means that you have successfully configured Magento 2 blog extension.
Final Words
A blog is a necessity for any online store in terms of traffic. Not only traffic, a blog helps you amplify your store’s brand on social media and other platforms. You can inform your customers about the products they are buying and possible discounts you may be offering, which increases the chance of making sales. After following this tutorial, you should now be able to setup Magefan Magento 2 Blog Extension. If you’re facing any issues in the implementation of this tutorial, just drop your query in the comment section below!
Frequently Asked Questions
Q1. Are there any alternatives of Magefan Magento 2 Blog extension?
Yes, there are several other Magento 2 Blog extensions available like Magefan. You can select any one according to your needs and requirements.
Q2. Is Magefan Blog Magento 2 Blog extension completely free?
If you use Magento 2 community edition, then you can download Magefan Blog Magento 2 Blog extension without any charges. However, for its support, and other additional services like installation, you have to pay a small amount.
Q3. Is a Blog a good idea for my Magento 2 store SEO?
Yes, a blog is one of the greatest ways for improving the ranking of your store in organic search results. With these rankings, you can generate natural traffic to generate more sales.


