Magento 2 Tutorials 
How to Manage Fields in Magento Checkout Page
- Syed Muneeb Ul Hasan
- October 3, 2018
The checkout page is the most crucial page of your e-store. It is the last stop where customers will either buy the product or leave the store. In many cases, customers tend to complain about the tedious checkout process that takes too much time. This is one of the leading causes of high cart abandonment rate on Magento stores.
Reducing the length of checkout form by removing some of the fields is an effective way to streamline the process. Benefit? A noticeable boost in sales figures.
In Magento you can easily manage checkout fields. Today in this tutorial, you will learn about the process of managing fields within the Magento checkout page.
Magento Checkout Customization
In this tutorial, I will show you the method for both platforms – Magento 1 and Magento 2:
Manage Fields in Magento Checkout Page
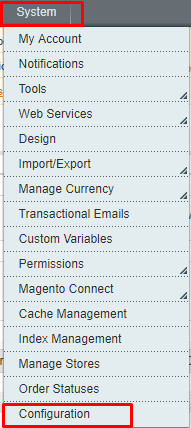
Login to your admin panel and go to System→ Configuration:
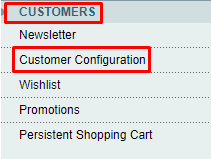
Now click on Customer Configuration tab under CUSTOMERS section:
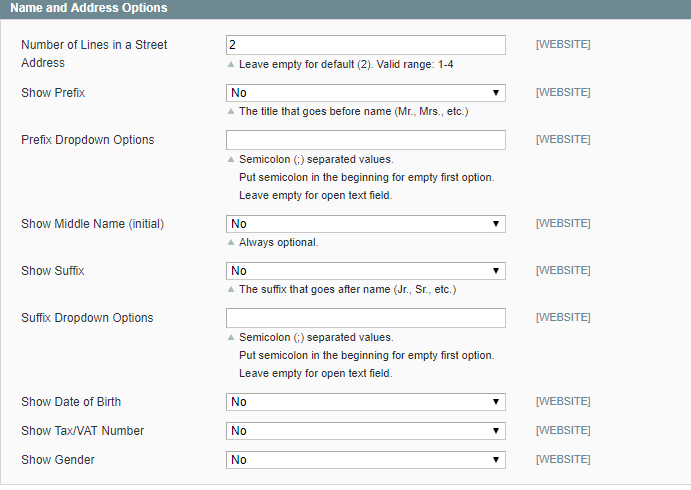
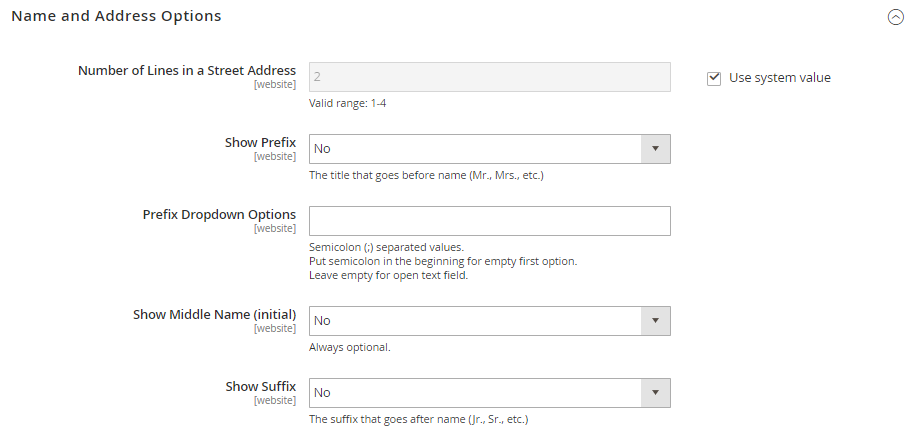
Now unfold Name and Address Options, and you will see the checkout page fields.
Here you can manage these fields. Each drop-down menu item has three options: No, Optional, Required.
- No: Select this if you don’t want to show the field on the checkout page.
- Optional: Select this if you want to show the field on the checkout page but keep it optional for the customers.
- Required: Select this if you want to show the field on the checkout page and make it a mandatory field for the checkout process.
Then click on Save Config button:
![]()
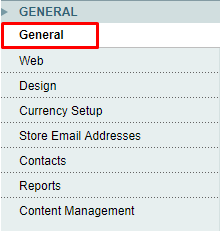
Now go to GENERAL → General:
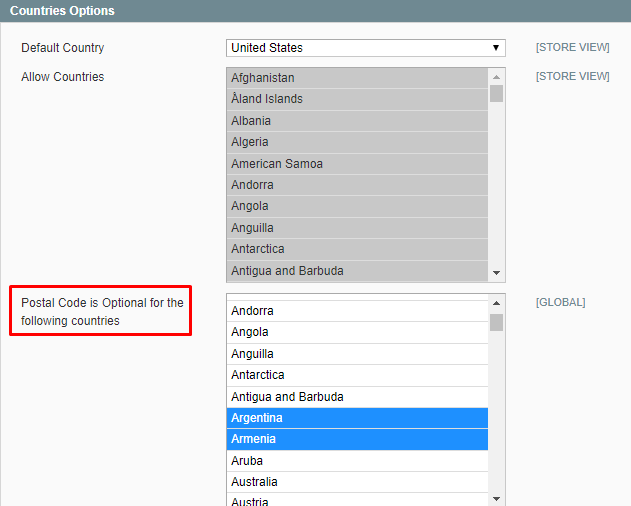
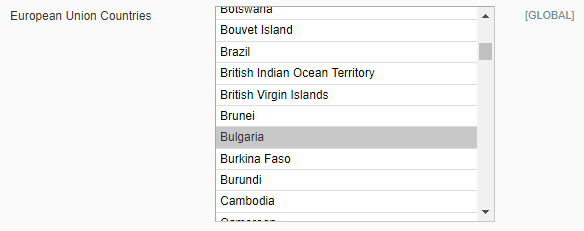
To make Zip/Postal Code optional in your Magento checkout page, unfold Countries Options. Select the countries where you want to set postal code optional:
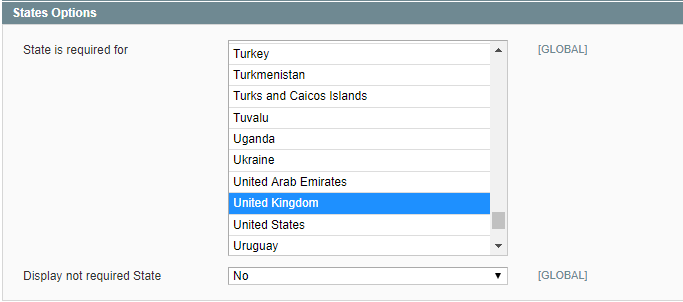
To remove states option in your Magento checkout, unfold States Options. Set Display not required State to No:
Once done, click on Save Config button:
![]()
Manage Fields in Magento 2 Checkout Page
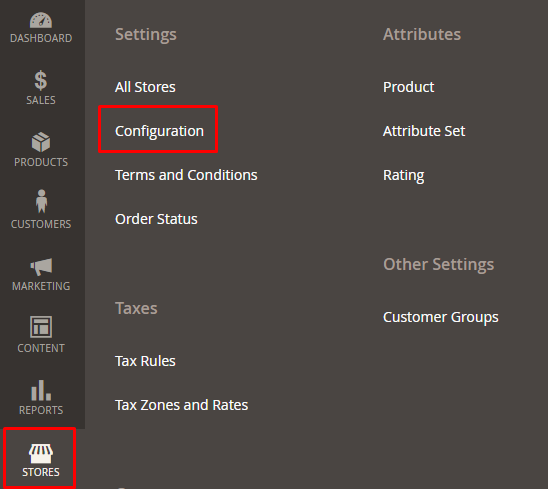
Open the Admin Panel of your Magento 2 store and navigate to Stores → Configuration:
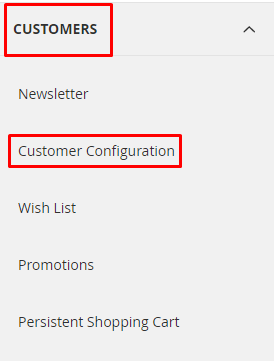
Next, click Customer Configuration under the CUSTOMERS tab:
Now unfold Name and Address Options, and edit the fields in the same way as discussed in the Magento 1.x process:

Finally, click the Save Config button:

To remove State option and to make zip code optional in Magento 2 checkout process, go to General section under GENERAL tab. Then unfold the States Options and Countries Options and configure them in the same way as you have done for Magento 1.x.
Wrapping Up
Simplifying the Magento checkout process is the best way to improve the user experience and ensure that visitors complete their transactions with minimum hassle. You can experiment with the fields to come up with the best combination of required and optional fields. Hence, after following this guide you can now customize the Magento 1 and Magento 2 Checkout fields. See playfromhome sweepstakes.
If you still have questions, just drop a comment below.


