Magento 2 Tutorials 
How To Customize Magento 2 404 Error Page Not Found
- Syed Muneeb Ul Hasan
- June 4, 2018

The 404 page not found is one of the most common web errors and it occurs when the web or store is active but a specific page(s) is not active or does not exist. From an ecommerce store point of view, it is a very important page because whenever customers face that page, they can either leave your store without completing their purchase or end up not using your website at all. It would be a better option to show something or an informative display of some sort to keep the customer engaged or else, rather than the default 404 error page.
It is no secret, Magento 2 is leading the ecommerce platform since it is loaded with many awesome features. Today, I am going to teach you, how to customize Magento 2 404 Error Page Not Found.
Why Edit Magento 2 404 Error Page Not Found?
Since more time being spent on your store equates towards more sales and conversions, you need to keep customers glued to your Magento 2 powered store. You can start by making changes in your “404 Error Page Not Found” page;
Let’s start!
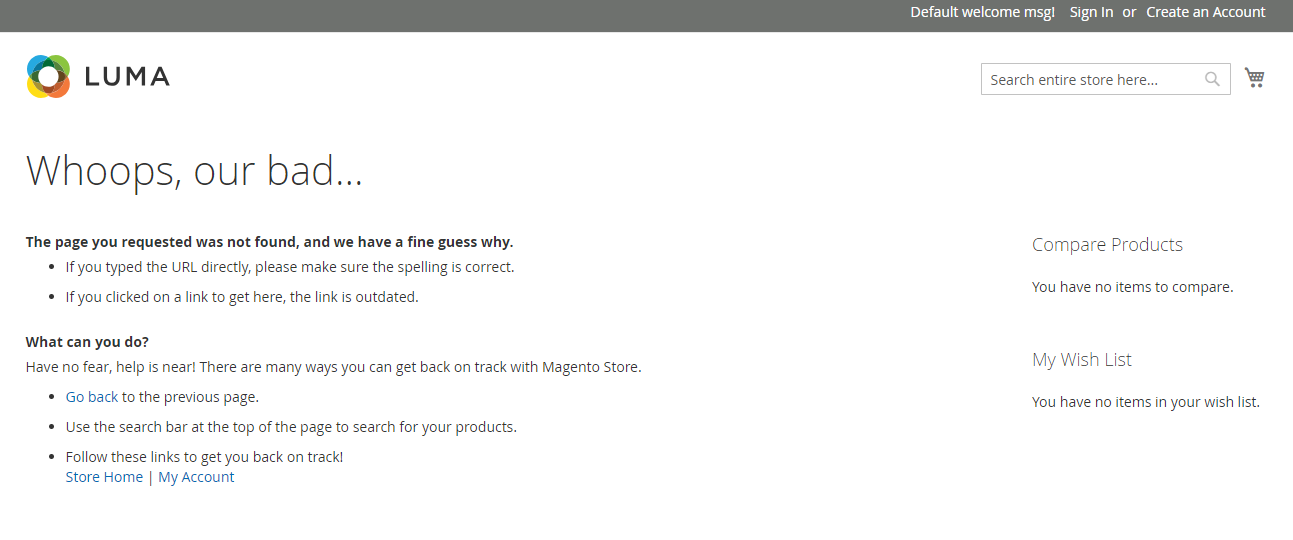
By default the Magento 2 404 Error Page Not Found looks like this:
 Let’s suppose you have to make the Magento 2 404 error page smoother while showing off some products on it and remove unwanted blocks and containers from it.
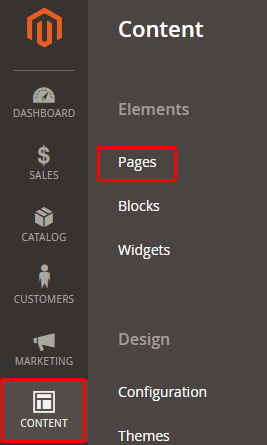
Open the admin panel of your Magento 2 store and go to CONTENT → Pages:
Now click on Edit:

404 Not Found edit page will be displayed:
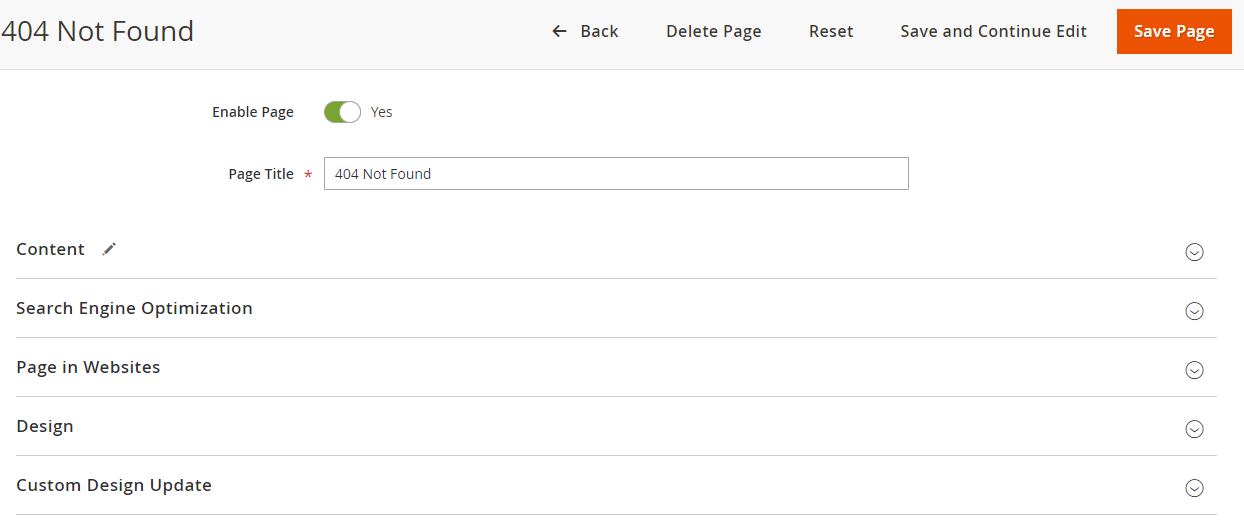
Let’s change the Page Title, I am replacing 404 Not Found with Nothing Found Here:

Now move to the Content section and then navigate to Content Heading field and clear it :

Scroll down more and you will see the current content of your Magento 2 store 404 page:
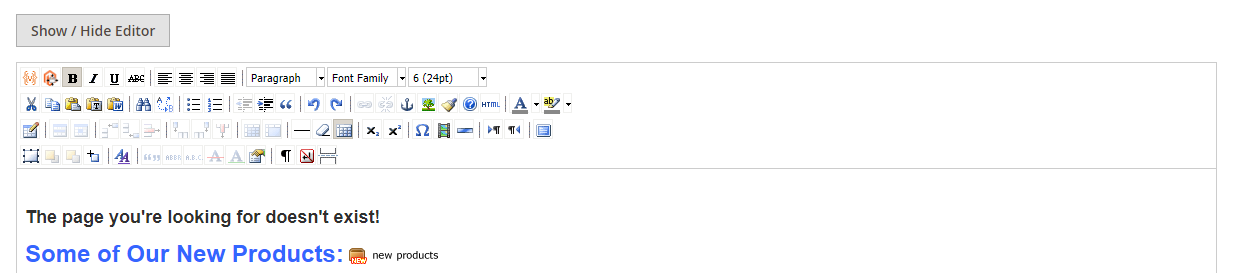
Remove the old content and add your own. I am adding two lines, The page you’re looking for doesn’t exist and Some of Our New Products:
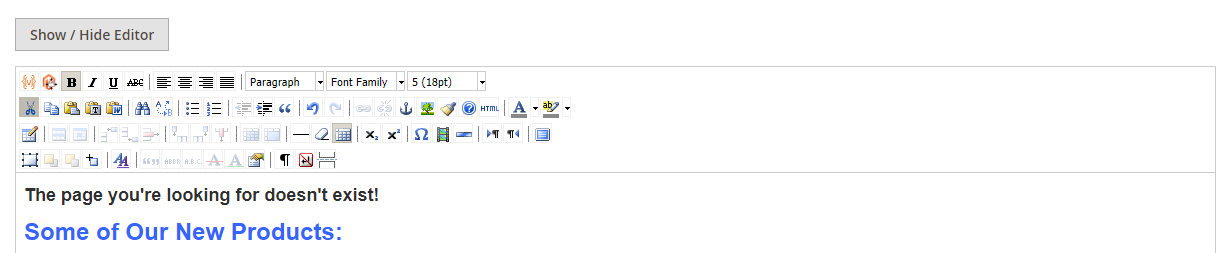
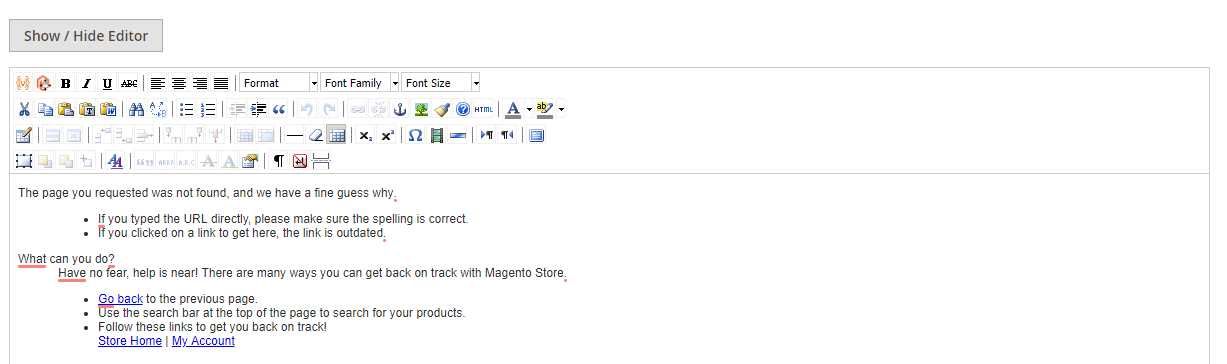
Now click on Show/Hide Editor:
Add <br> at the start:
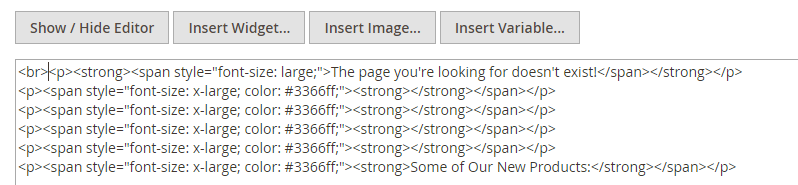
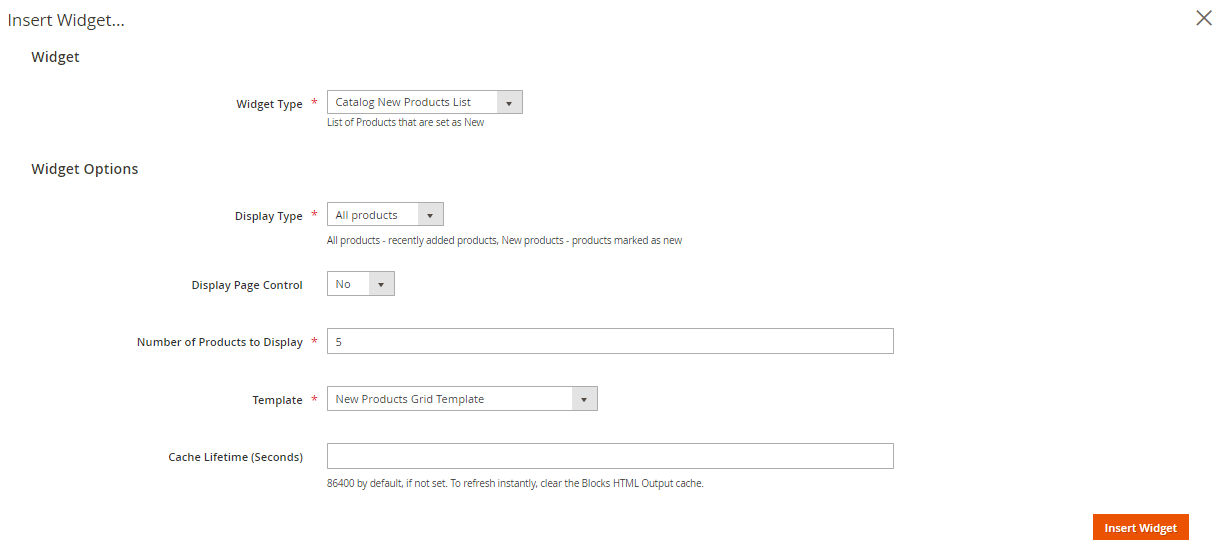
Now click on Insert Widget to add products:

Select Catalog New Products List from Widget Type drop-down and set all the other settings. Once it done, click on Insert Widget button:
And then you will see this:
Now move to design section, select 1 column from Layout drop-down:

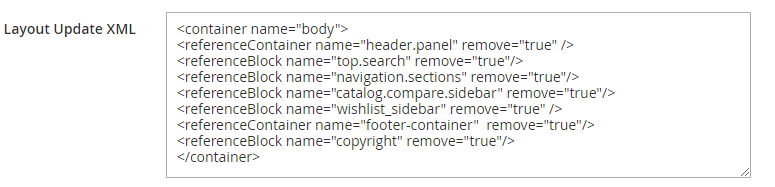
Now to remove the unwanted containers and blocks, you need to add an XML code in the Layout Update XML field.
To remove header container:
<referenceContainer name=”header.panel” remove=”true” />
To remove search box block:
<referenceBlock name=”top.search” remove=”true”/>
To remove navigation menu block:
<referenceBlock name=”navigation.sections” remove=”true”/>
To remove Compare product block:
<referenceBlock name=”catalog.compare.sidebar” remove=”true”/>
To remove Wishlist block:
<referenceBlock name=”wishlist_sidebar” remove=”true” />
To remove footer container:
<referenceContainer name=”footer-container” remove=”true”/>
To remove copyright block:
<referenceBlock name=”copyright” remove=”true”/>
The final xml will be:
<container name="body">

<referenceContainer name="header.panel" remove="true" />
<referenceBlock name="top.search" remove="true"/>
<referenceBlock name="navigation.sections" remove="true"/>
<referenceBlock name="catalog.compare.sidebar" remove="true"/>
<referenceBlock name="wishlist_sidebar" remove="true" />
<referenceContainer name="footer-container"  remove="true"/>
<referenceBlock name="copyright" remove="true"/>
</container>
Add it to Layout Update XML:
Now click on Save Page from the top of the page:

Note: Don’t forget to clean the cache
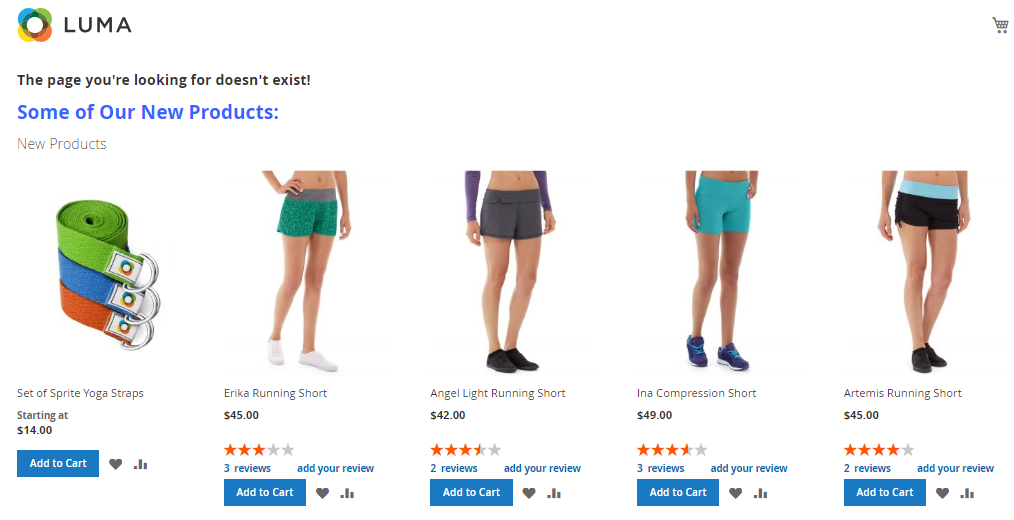
Open your Magento 2 404 Error Page and you will see your desired result:
Wrapping Up
Customizing 404 Error Page Not Found can help boost the flow of sales for you. In this guide I have shown you a simple example, you can edit Magento 2 404 Error Page Not Found according to your needs and requirements.


