Magento 2 Tutorials 
How to Install Magento 2 on Localhost Using XAMPP
- Syed Muneeb Ul Hasan
- October 19, 2018

Magento 2 is a powerful ecommerce platform loaded with an arsenal of useful features. There are hundreds of thousands of ecommerce stores built on the popular ecommerce CMS. However, many people face issues in installing Magento on localhost using XAMPP.
In this tutorial, I am going to teach you how to install Magento on localhost. Magento is releasing updated versions of Magento 2 day-by-day. Hence, I am going to configure Magento 2.2.6 on my localhost using XAMPP for this tutorial.
Requirements
- Apache 2.2 or 2.4
- Download XAMPP
- PHP 7.0.13–7.0.x, 7.1.x.
- MySQL 5.6, 5.7
To read more requirements, click here.
Install Magento on XAMPP
Download and Extract Magento 2
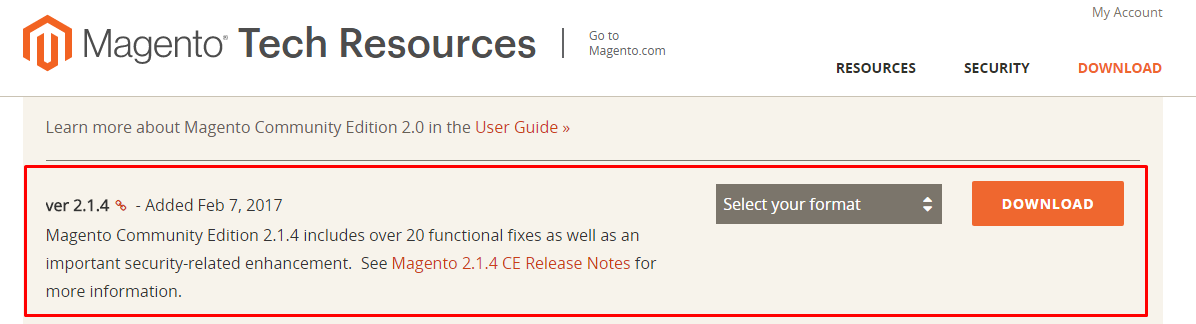
Go to the Magento official website and download Magento 2 setup.
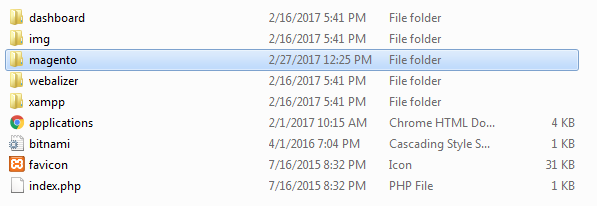
Now go to xampp/htdocs and create the directory ‘magento.’ Extract the Magento 2.2.6 archive in xampp/htdocs/magento.
Update PHP (php.ini)
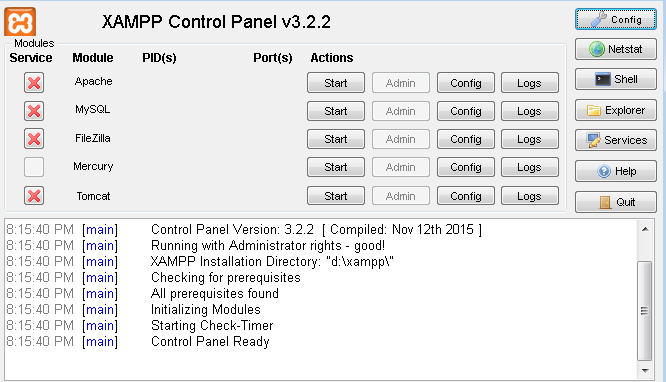
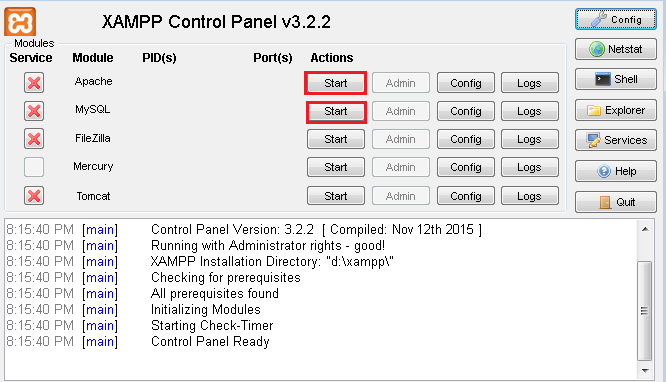
Now open your XAMPP Control Panel.
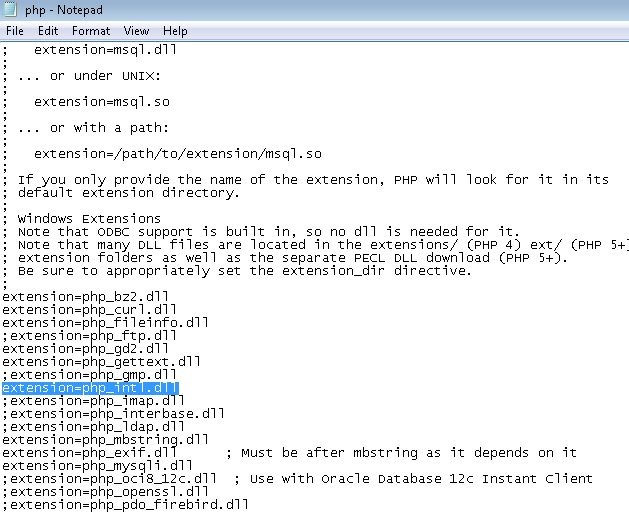
Click on Apache’s Config and then navigate to PHP (php.ini).
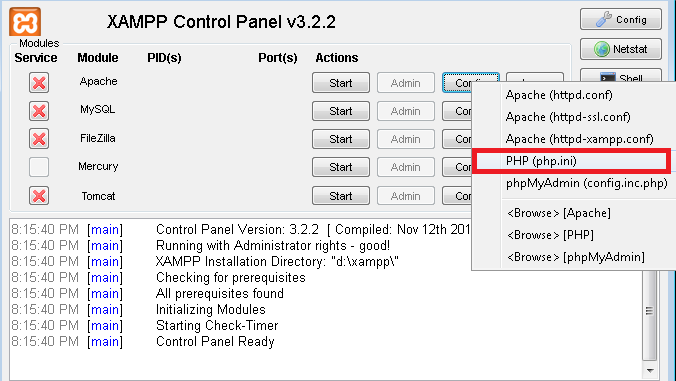
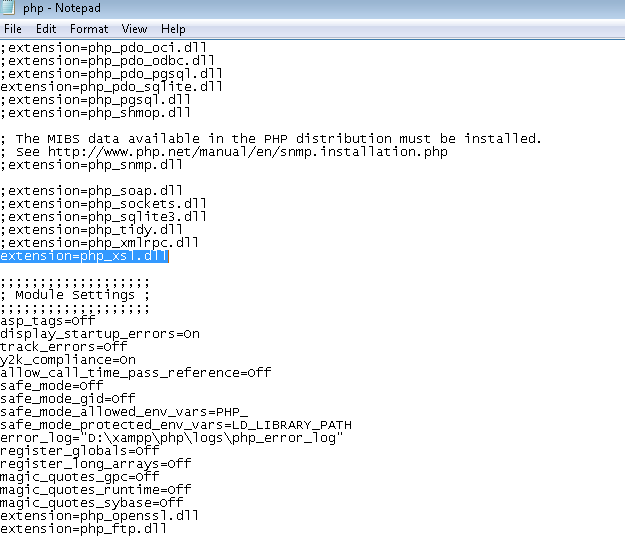
Now search for extension=php_intl.dll and extension=php_xsl.dll, and remove the semicolon “;” at the beginning from both.
Start the Apache and MySQL services from XAMPP control panel.
Install Magento 2 on Localhost
Now its time for Magento installation on XAMPP server.
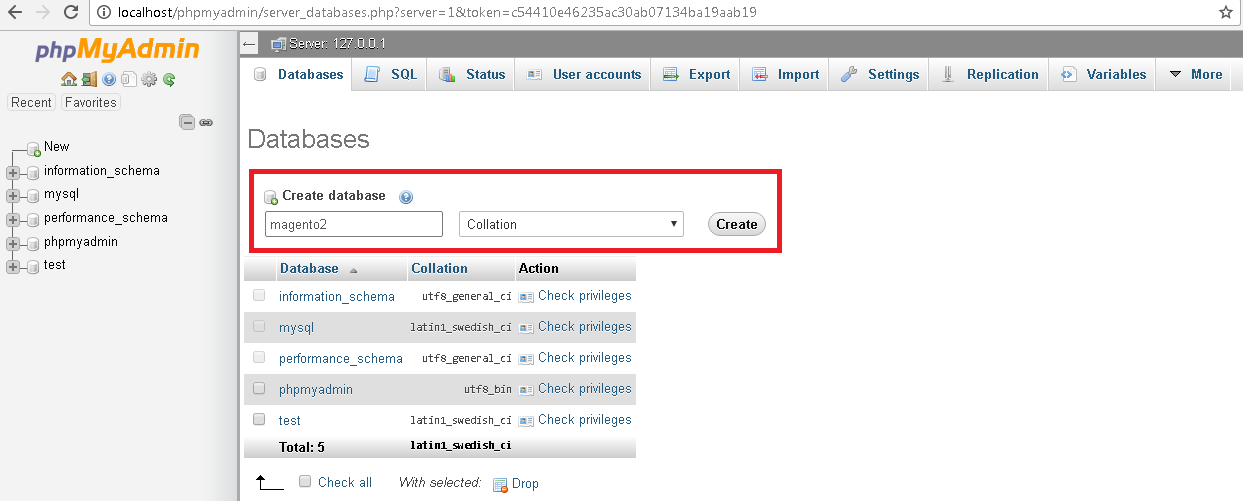
Go to phpMyAdmin and create a database with the name magento2.
Open the web browser and explore localhost/magento. Then click on Agree and Setup Magento.
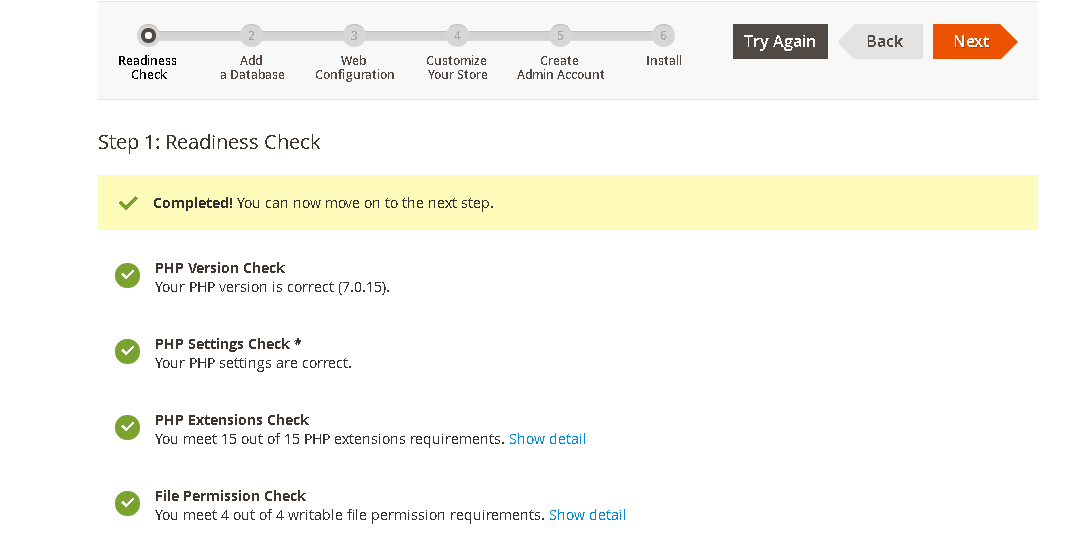
The first step for installing Magento 2 on localhost is to perform a Readiness check. After successful checking, click on Next.
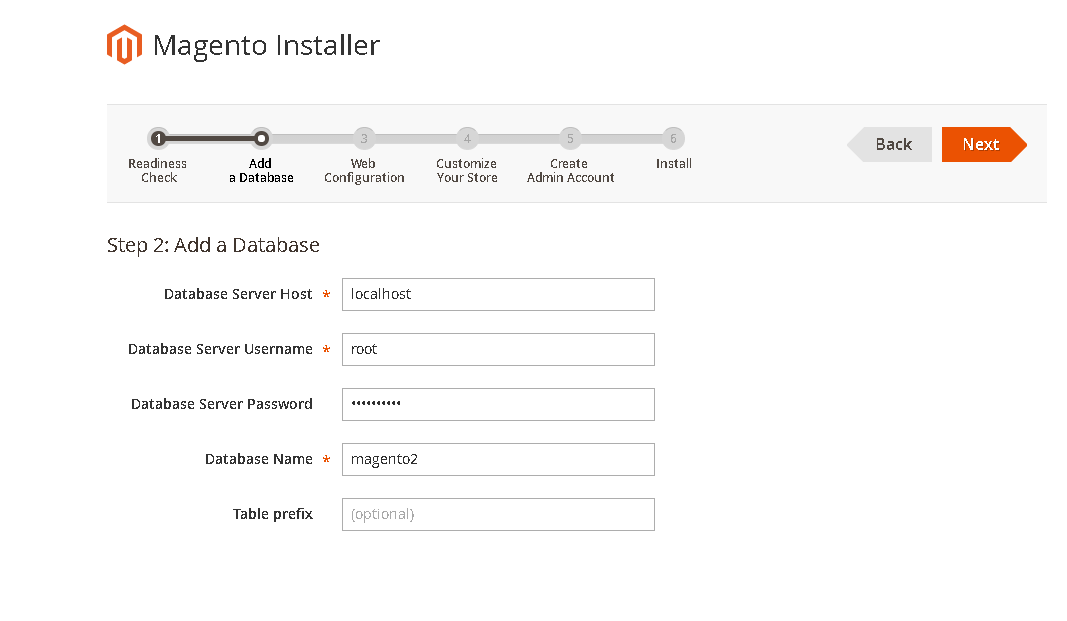
Now the database configuration page will appear. Here, enter database details and database name which will be the same as the one you created in phpMyAdmin (magento2). After completing this step, click on Next.
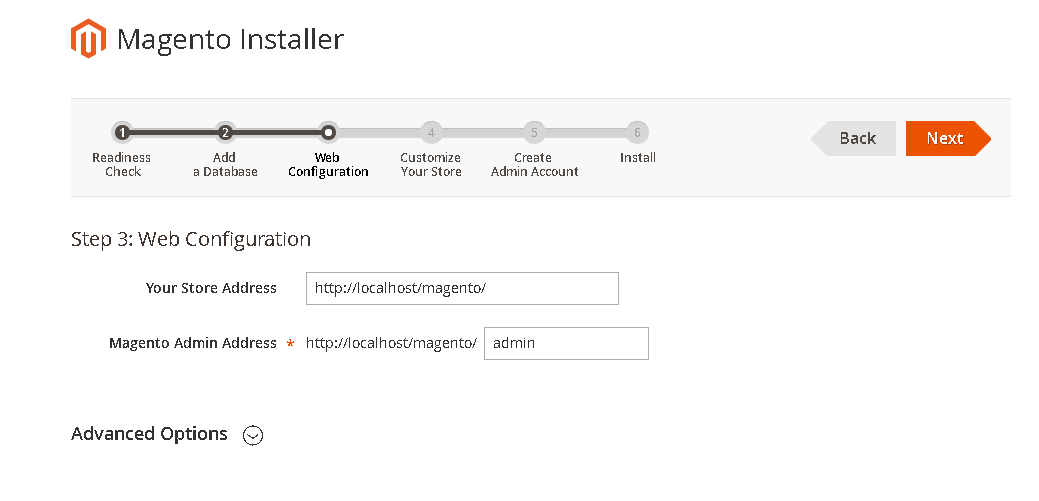
Now complete the web configuration, your store, and admin panel address. After web configuration, click on Next.
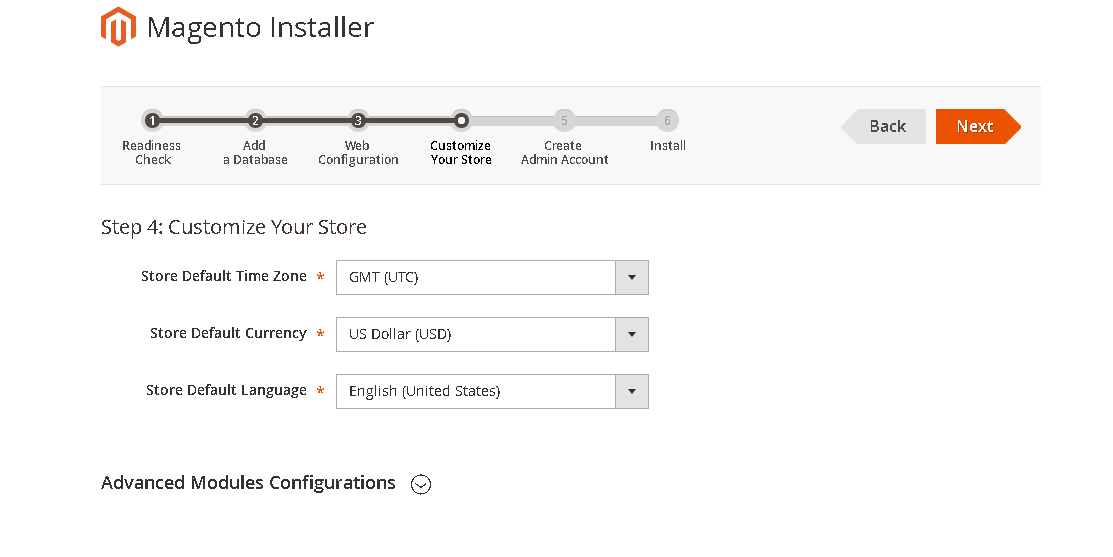
Now customize your store and click on Next.
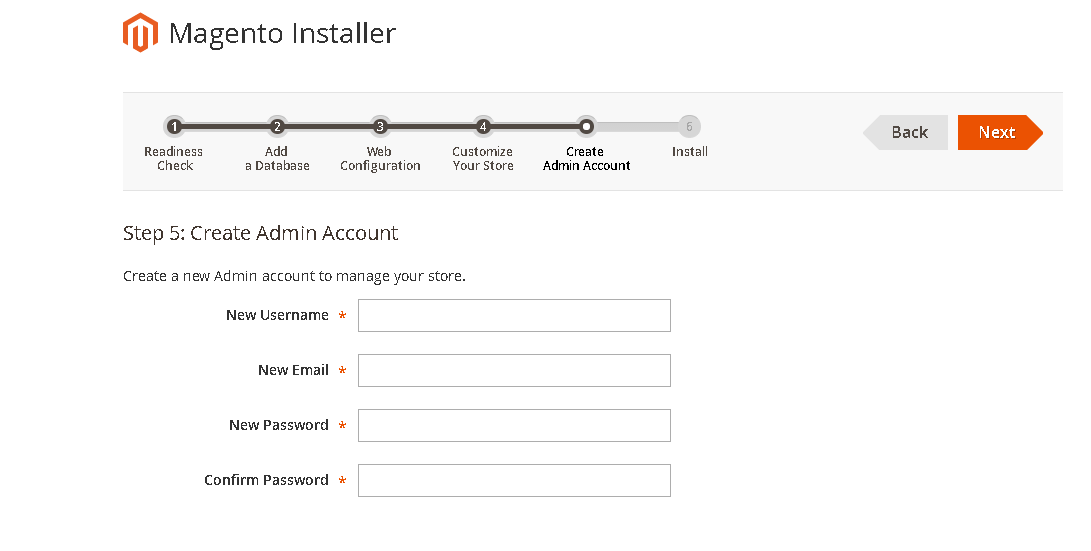
Create an Admin account and click on Next.
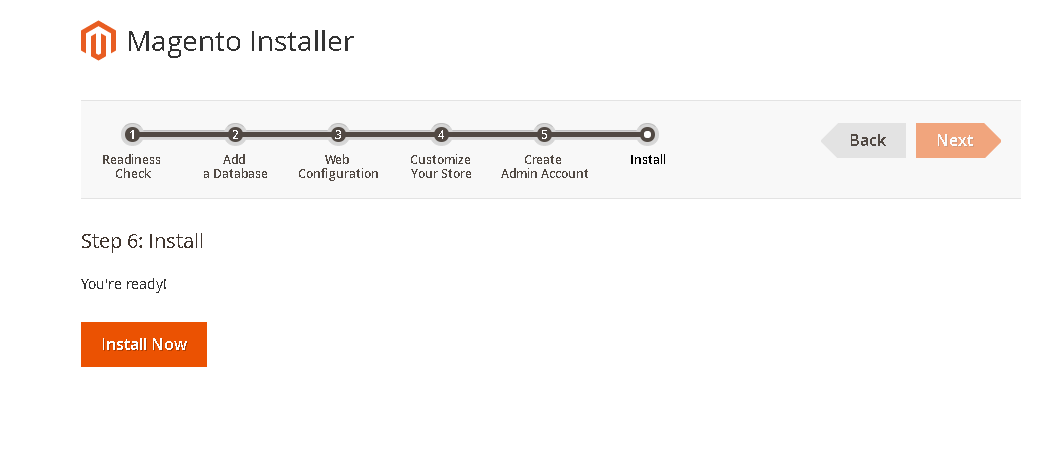
All ready! Just hit the Install Now button.
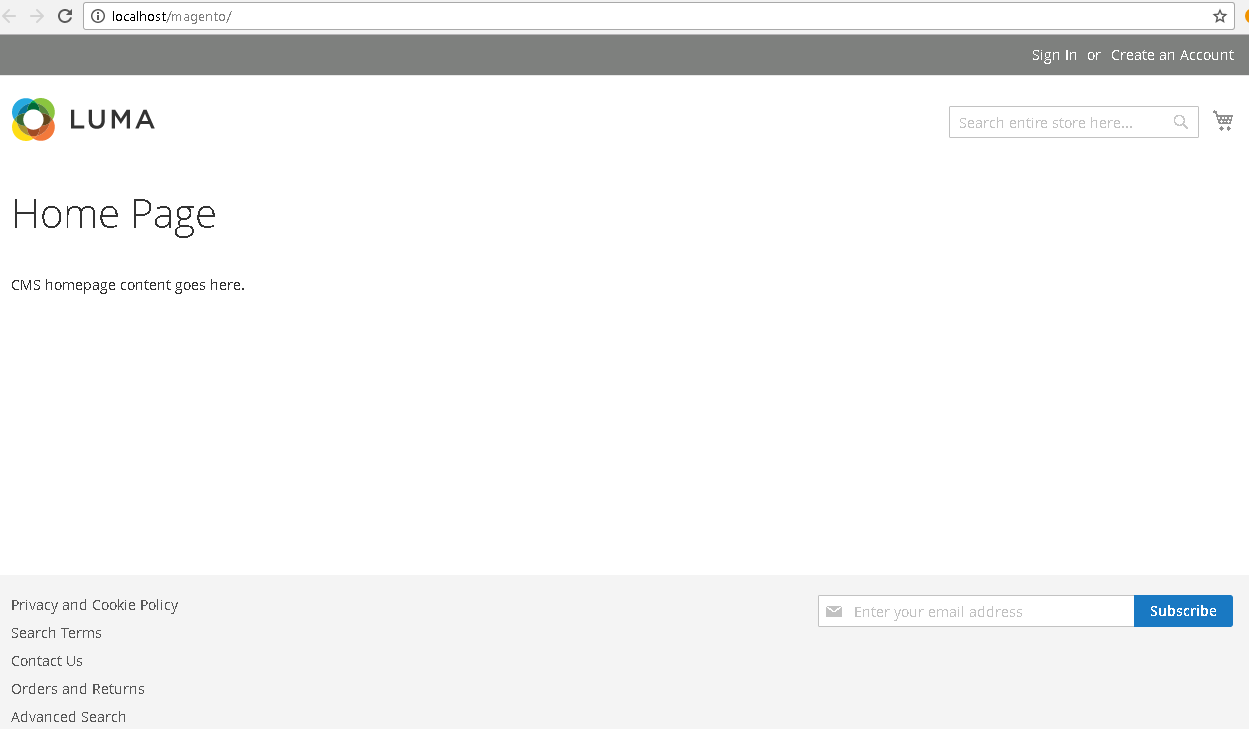
Open your store by exploring localhost/magento and you will see the following result:
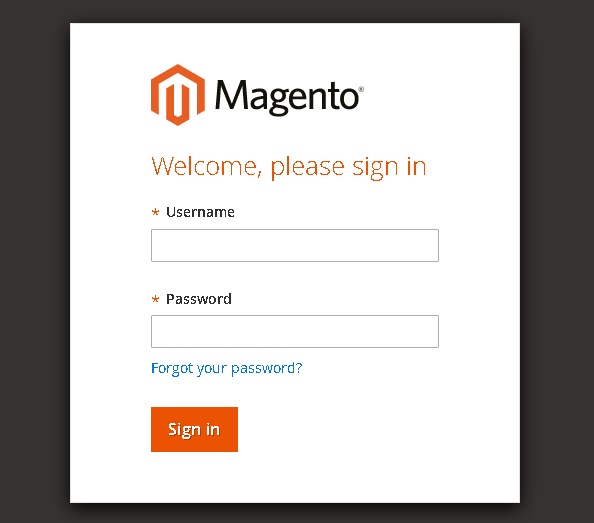
Open your admin panel by exploring localhost/admin and the following screen will appear:
Note: If the following error appears on accessing the admin panel, just go to xampp/htdocs/magento/var/cache and delete all the folders from it.

Want to test your website before making it live?
Assure your entire website functionalities are up and running smoothly by testing it on a staging server.
Final Words:
After following the steps above, you should be able to install Magento 2 on localhost using XAMPP. Now start adding the products and explore the awesome features of Magento 2. If you have any questions about the tutorial above or would like to share your thoughts, just leave a comment below.
Related Reading


