Magento 2 Tutorials 
Customize Homepage of Magento 2 – Add Image Slider
- Syed Muneeb Ul Hasan
- June 5, 2017

Your website’s homepage is one of the most important factor that contributes to its success. So if you want to lose your customers, make sure your homepage isn’t up to the mark. But since you’re smarter than that, you must already be planning on customizing your homepage.
Magento 2 is one of the most recognized and widely used ecommerce platform which people base their online stores on. And when a customer visits your Magento site, the very first thing they see on the homepage is the image slider that sets the tone for their shopping spree. So, today in the first part of this Magento 2 homepage customization series, I am going to teach you how to add an Image Slider in Magento 2. You can find many image slider extensions but for this tutorial, I will use landofcoder Image Slider Extension for Magento 2.
First, download landofcoder extension and then follow these steps:
- Download and Install Image Slider.
- Configuration.
Install Image Slider Extension
Copy the app directory from the downloaded landofcoder Image Slider Extension archive to the root directory of your Magento 2 store. Now connect your store with an SSH terminal and run the following commands one by one in the root directory of the store:
php bin/magento setup:upgrade
php bin/magento setup:static-content:deploy
php bin/magento cache:clean
Configuration
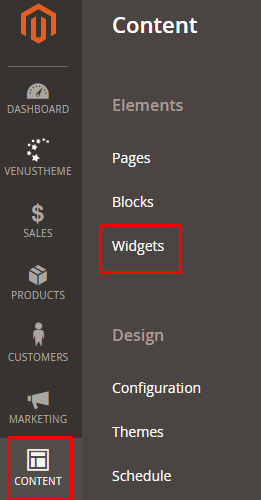
Open the Admin panel of your store and navigate to Content → Widgets.
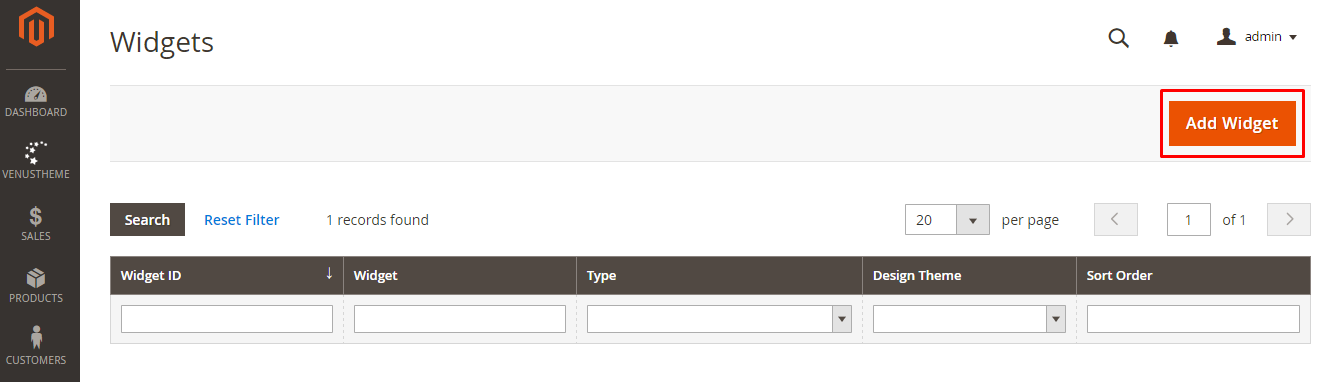
Now click on Add Widget.
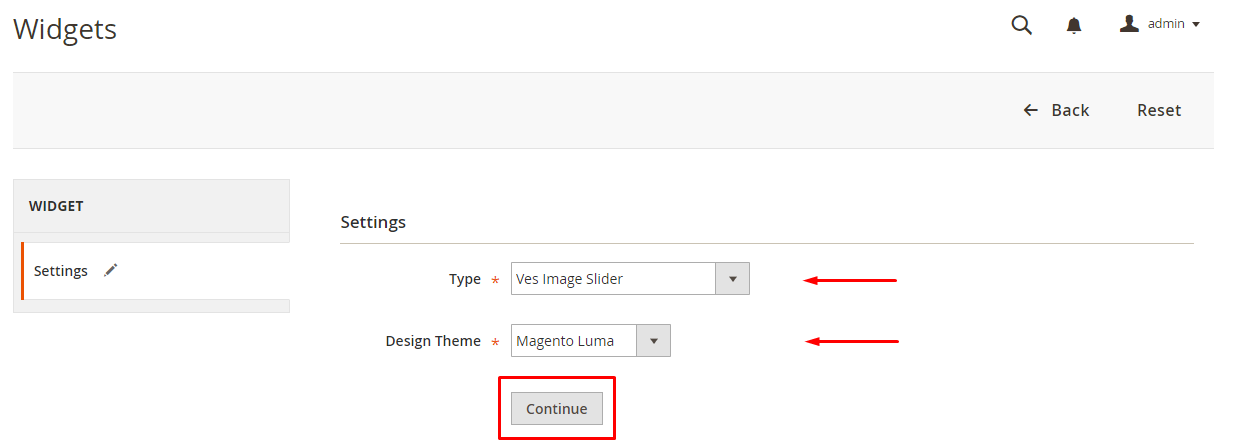
Select Ves Image Slider from the Type dropdown and Magento Luma (or any of your choice) from Design Theme drop down. Now click on Continue.
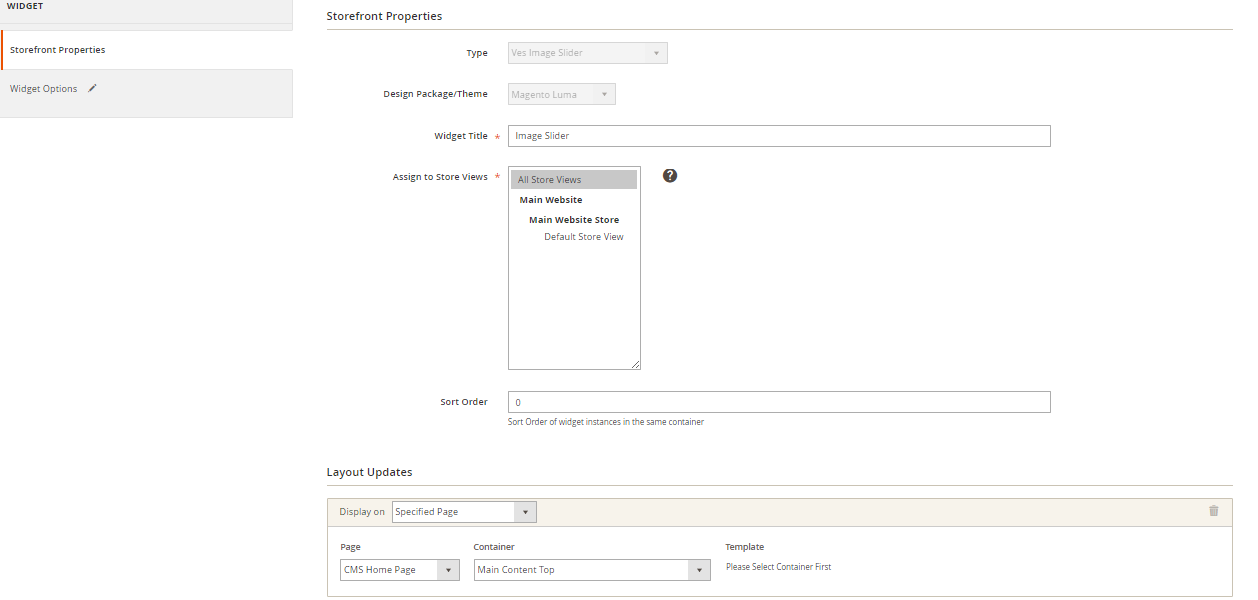
Now enter the details for Storefront Properties and select these options from Layout Updates:
Specified Page from Display on dropdown.
CMS Home Page from Page dropdown.
Main Content Top from Container Dropdown.
Now click on Widget Options and fill Title and Additional Class text fields.

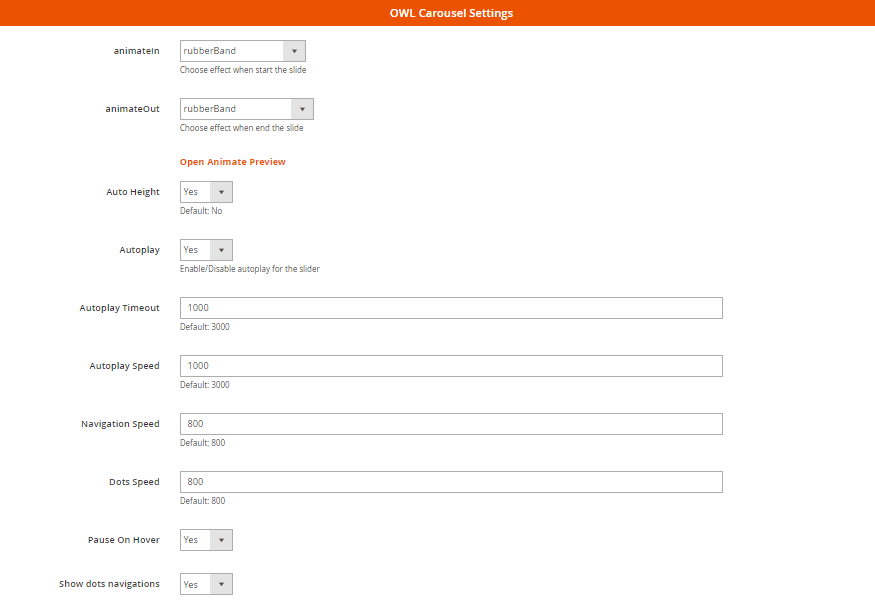
After Widget Options, configure the OWL Carousel Settings where you can set animation, autoplay option, and many other options according to your need.
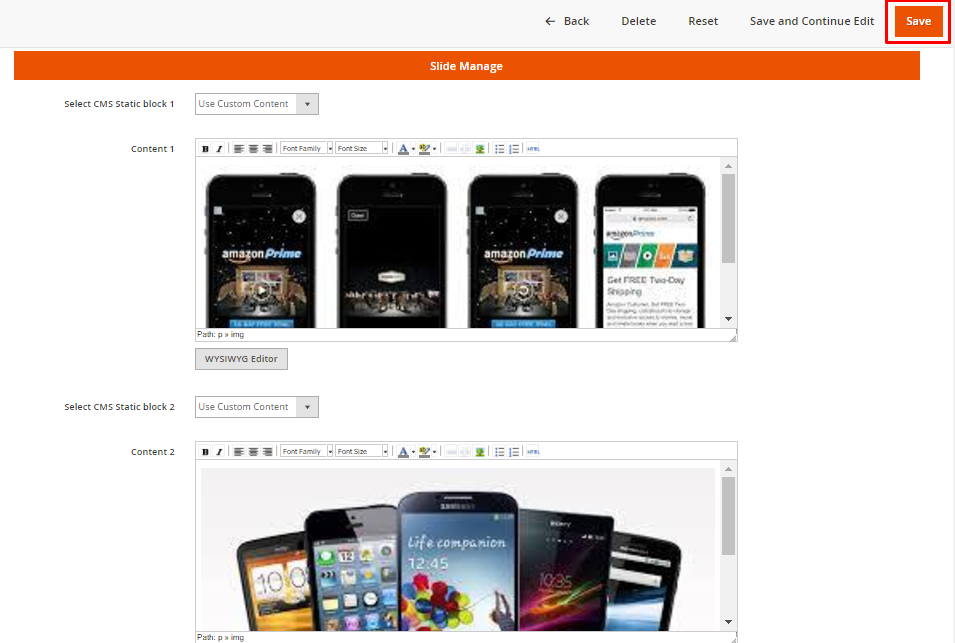
After OWL Carousel Settings, manage the slides. Here you can upload banners and content for each slides for your image slider. Lastly, just click on Save.
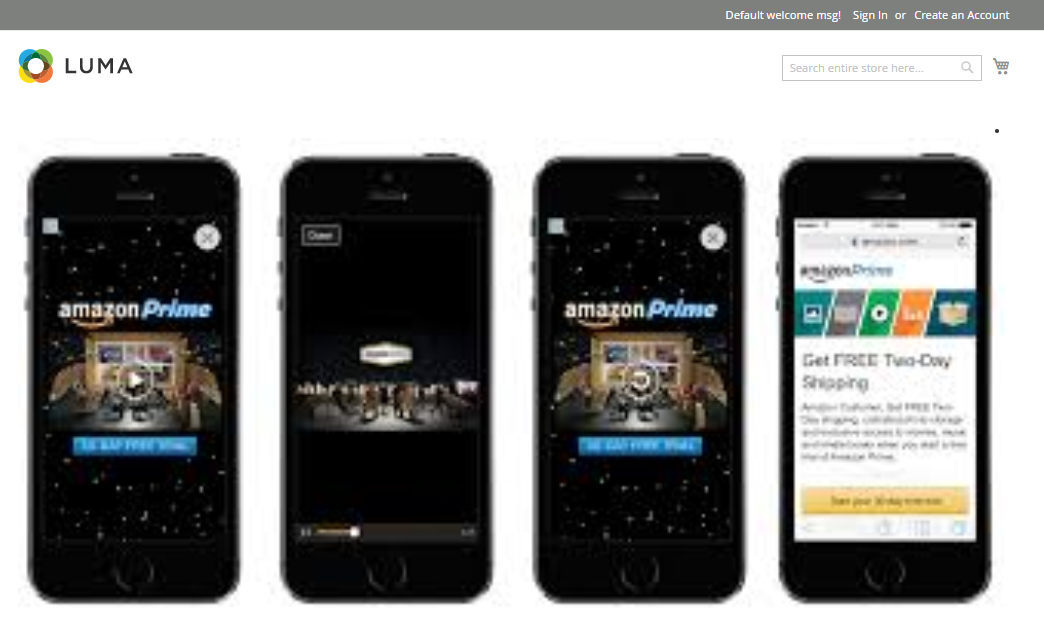
Now go to the home page of your store and you will see the result!
Conclusion
You should now be able to add an image slider to your Magento 2 store. That’s all for this part of the Magento 2 homepage customization series. In the next part I am going to teach you how to show products on the homepage of Magento 2. If you have any confusion or would like to add something to this tutorial, you can use the comment box below!


