Disclaimer: Magenticians does not necessarily agree with the views expressed in this guest post. They are presented to bring to light all diverse views in the Magento and general ecommerce community.
When it comes to ecommerce, we all know that an Order is something businesses want and Sale is something businesses make. Simply put, when you get an order and then you successfully deliver it, you earn.
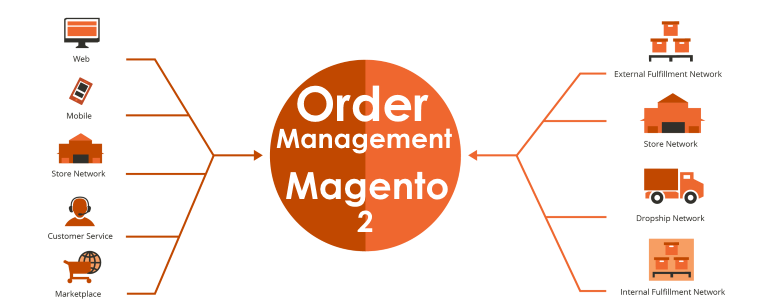
If you don’t have any skills of managing orders, you can’t serve your customers well. That’s why I am writing this post to give you guys the overview of Order Management in Magento 2.
When the customer places an order, Magento 2 automatically adds a new transaction activity and by default, puts the order status as “Pending.” If your customer hasn’t paid yet, they can cancel the order anytime they want, but if they checked out and paid for the order, the system would directly create an invoice and packing label.
In detail, following are the steps that are involved in the Order Management Workflow:
1. Order Placed
When the customer hits Checkout button from the cart, it simply adds a new order.
2. Order Status
By default, Magento 2 adds a new order into the database with the order status as “Pending“. If desired, a customer or admin can cancel the order whenever they want.
3. Payment Confirmation
When store owners confirm the payment from the customer via proper payment methods integrated into Magento 2 system, the order status is changed to “Processing“.
4. Invoice Generation
Once store owners receive payment, Magento 2 automatically adds a new invoice for the transaction. Mostly payment methods generate the invoice automatically when store owners authorize and capture the payment. After the invoice is created and submitted, an email with the copy of the invoice is sent to the customer.
5. Shipping Information
The purchasing process is almost finished. It will now print packing slip and shipping label. Customers will be informed that their products are on the way, and they are shipped to them according to the method they choose.
6. Order Tracking
To track the status of any order, follow the steps below:
Step 1: Login to your Magento 2 Admin Panel.

Step 2: Click “SALES” from the left sidebar and select “Orders“.

Step 3: Find your order in the list and see the “Status” column to track the status of order.

Note: You can also modify a pending order to “On Hold”, “Canceled”, “Invoiced”, or “Shipped”.
7. Reorders
You can also facilitate your customers to reorder a completed order. They can quickly make reorders directly from their account. By default, customer reorders are enabled but if you want to configure them, follow these easy steps.
Step 1: On the admin left sidebar, click “STORES“.

Step 2: Under “Settings” menu, tap “Configuration“.

Step 3: From the left panel, expand “SALES“, choose “Sales“.

Step 4: Expand the “Reorder” section from the right panel and set “Allow Reorder” to “Yes“.

Conclusion
Order management is fairly easy in Magento 2. However, you need to make sure your email is properly setup as all of your order based actions are email dependent.


