Magento Tutorials 
How to Install and Configure Elasticsearch on Magento
- Fayyaz Khattak
- December 12, 2016

Disclaimer: Magenticians does not necessarily agree with the views expressed in this guest post. They are presented to bring to light all diverse views in the Magento and general ecommerce community.
The primary objective of an ecommerce store is to provide an easy solution that can help customers find and buy products as conveniently as possible. Most of the time, buyers use on-site search to find what they are looking for. And going by statistics, you should know that a visitor who uses the search option on your store is more likely to buy than those who don’t use search.
Magento Community Edition offers a standard search feature that gives you the ability to modify and control your search results page. However, it would not be right to claim that it is 100% accurate. There are other ways, though, by which we can improve the native search feature of the Magento Community Edition.
But when it comes to the Magento Enterprise Edition, it has more advanced search capabilities than the Magento Community Edition, as the Apache Solr Search Engine and the Elasticsearch have built-in support for it.
Today, we are going to shed light on Elasticsearch, which will replace the core Magento content/products search, and it will also give you extra features and better performance.
What’s Elasticsearch?
Elasticsearch is an open source, flexible and powerful server-based tool that is capable of full-text searching at a very high speed. It’s a real-time search and analytics engine that is powered by Apache Lucene.
It’s the second most popular enterprise search engine that has scalable and real-time search and also supports multi-tenancy. Instead of searching the whole word from the entire database, Elasticsearch uses the indexing service.
Install and Configure Elasticsearch
If you follow the guide below correctly, you can easily install and configure Elasticsearch on Magento. Make sure you fulfill necessities before you start. Also, we will be using an extension to use Elasticsearch on Magento. There are many extensions available in the market, but the one we found is the great extension by Wyomind (also known as Bubbleshop). You can get it from Wyomind official website.
Prerequisites
- Install and run Elasticsearch on your web server
- A fully functional Magento store with some products/content
- Wyomind (Bubbleshop) Elasticsearch Extension
Install Elasticsearch Extension
After successfully installing and running the Elasticsearch on your web server, we are going to install an extension and configure ElasticSearch on Magento. To do so, we are going to install Wyomind (Bubbleshop) Elasticsearch Extension. Before the installation of the extension, though, we will advise you to create a backup of your Magento store.
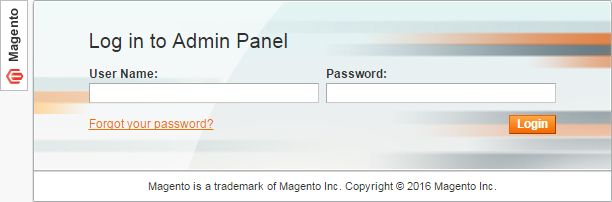
First of all, login to your Magento admin panel.
Next, disable the Magento Compiler from Magento admin panel. Go to System > Tools > Compilation.
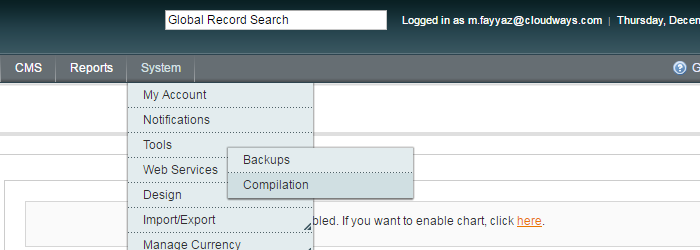
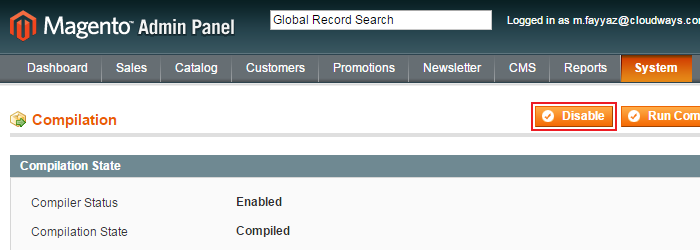
If the Compiler is activated, hit the Disable button to disable it.
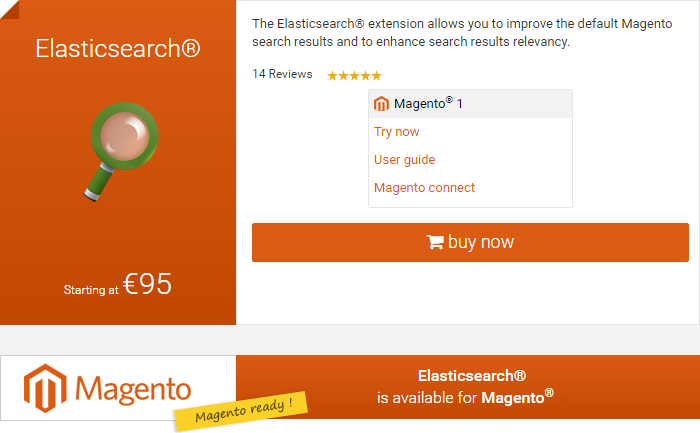
Visit the Wyomind website and buy the Wyomind (Bubbleshop) Elasticsearch Extension. This excellent extension is not more than €95.
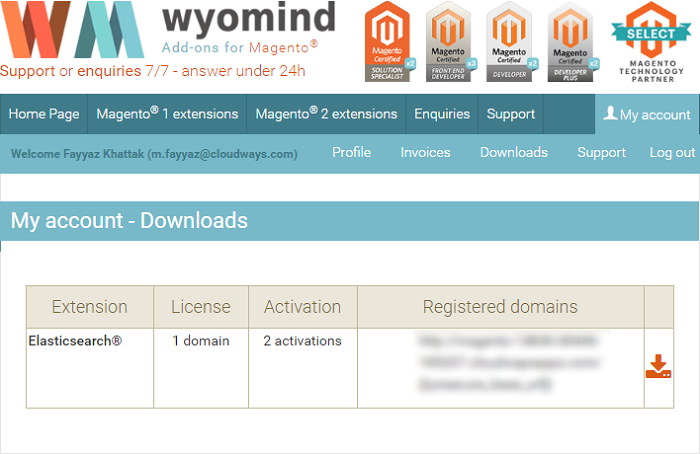
After the purchase, you have to download the zipped extension. Signup or login to your Wyomind Account, go to Downloads, find the extension and click on the orange arrow to download the ZIP file.
Once you’ve downloaded the extension, Unzip it and copy paste all the files and folders to the root folder of your Magento store. For example, if the root folder is public_html, then copy paste all files and folders to the public_html folder.
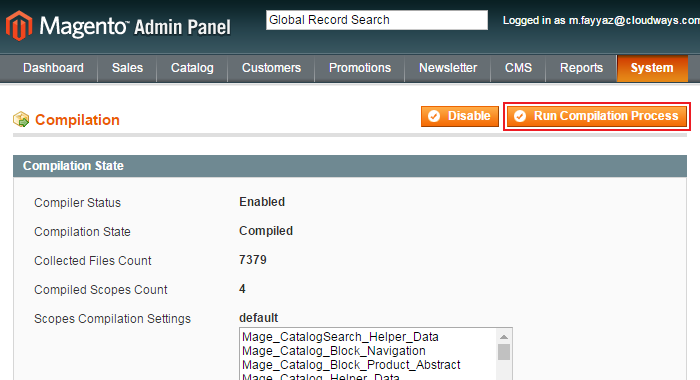
Now, enable the Magento Compiler and Run Compilation Process.
Now clear the cache and login again. Activate the extension using the activation key, and finally your Wyomind (Bubbleshop) Elasticsearch Extension is all set and ready to work.
Configure Elasticsearch on Magento
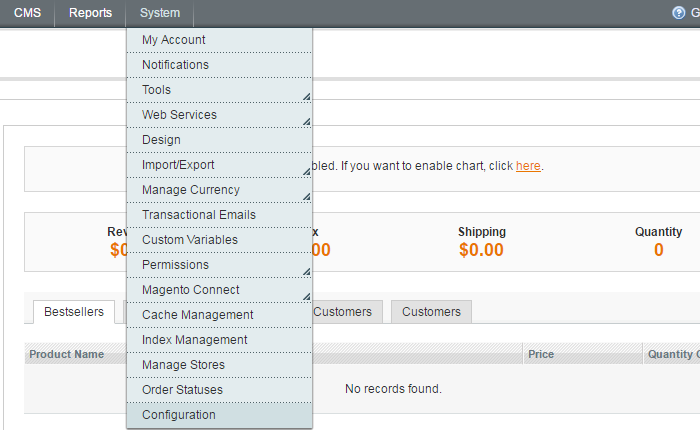
After successful installation of Elasticsearch extension on your Magento store, you are required to configure Elasticsearch as your default search engine for Magento. Go to System > Configuration.
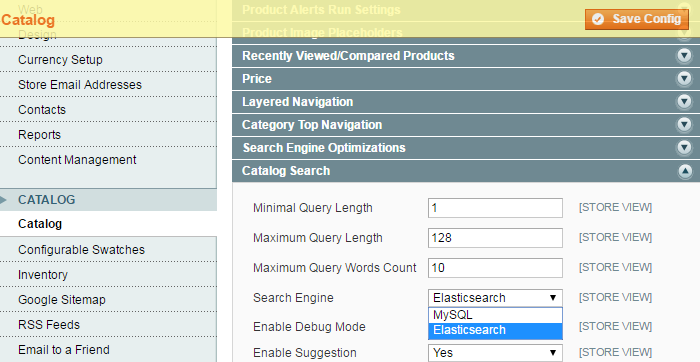
From the left panel under CATALOG, click Catalog and expand Catalog Search. Select Elasticsearch using the drop-down of Search Engine and hit Save Config button.
At last, go to System > Index Management and reindex all the indexes. That’s all; you have successfully installed and configured Elasticsearch on Magento store which can give you more sales, less cart abandonment, and customer retention.
That’s it. You have successfully installed and configured Elasticsearch on Magento store which can give you more sales, less cart abandonment, and better customer retention.
Conclusion
Haven’t found the proper solution for your Magento search engine yet? Take advantage of Elasticsearch and boost your conversion rates! If you have any question or are looking for help with Magento Elasticsearch functionality, feel free to contact us. We would love to come up with great suggestions and assist you in implementing the needed features.