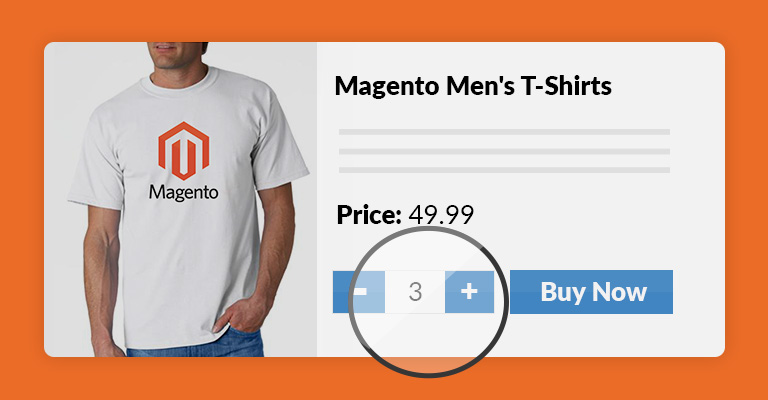
Magento provides simple input text field on product page for quantity. But to make it more attractive and easier for customers, you can add an increment quantity button in Magento.
Add Qty Increment Buttons In Magento
Today, we are going to learn how to add quantity increment buttons to product page. We can do this by editing core files but it’s not the right approach. So, we’ll add quantity increment buttons to product page in Magento by using custom module.
You can learn How to create a Magento 1.9 Custom Module if you don’t already know.
Create Directories
We will use Cloudways as Namespace and Qty as Module name.
Go to your module and create the following directories in it:
1. etc
2. Model
3. Block
4. Template
Configuration of Module
Go to app/code/local/Cloudways/Qty/etc and create config.xml. Now place the following code in it:
<config>
<modules>
<Cloudways_Qty>
<version>0.1.0</version>
</Cloudways_Qty>
</modules>
<global>
<models>
<grouped>
<class>Cloudways_Qty__Model</class>
</grouped>
</models>
<blocks>
<grouped>
<class>Cloudways_Qty_Blocks</class>
</grouped>
</blocks>
</global>
<frontend>
<events>
<core_block_abstract_to_html_after>
<observers>
<cloudways_grouped_init>
<class>Cloudways_Qty_Model_Observer</class>
<method>applyJavascript</method>
</cloudways_grouped_init>
</observers>
</core_block_abstract_to_html_after>
</events>
</frontend>
</config>
Activation Of Module
Go to app/etc/modules and create Cloudways_Qty.xml. Now place the following code in it:
<config>
<modules>
<Cloudways_Qty>
<active>true</active>
<codePool>local</codePool>
</Cloudways_Qty>
</modules>
</config>
Create Model
Go to app/code/local/Cloudways/Qty/Model and create Observer.php. Now place the following code in it:
<?php
class Cloudways_Qty_Model_Observer
{
const MODULE_NAME = 'Cloudways_Qty';
public function applyJavascript($observer = NULL)
{
if (!$observer)
{
return;
}
if ('product.info.addtocart' == $observer->getEvent()->getBlock()->getNameInLayout())
{
if (!Mage::getStoreConfig('advanced/modules_disable_output/'.self::MODULE_NAME))
{
$transport = $observer->getEvent()->getTransport();
$block = new Cloudways_Qty_Block_Injection();
$block->setPassingTransport($transport['html']);
$block->toHtml();
}
}
return $this;
}
}
Create Block
Go to app/code/local/Cloudways/Qty/Block and create Injection.php. Now place the following code in it:
<?php
class Cloudways_Qty_Block_Injection extends Mage_Core_Block_Text
{
protected $a = 'grouped.qty_javascript';
protected $b = 'qty_javascript';
public function setPassingTransport($transport)
{
$this->setData('text', $transport.$this->_generateJavaScript());
}
private function _generateJavaScript()
{
$directory = dirname(dirname(__FILE__));
$File = 'quantity.phtml';
$template = 'template';
return file_get_contents($directory . DS . $template . DS . $File);
}
}
Create Template File
Go to app/code/local/Cloudways/Qty/template and create quantity.phtml. Now place the following code in it:
<script type="text/javascript">
var parentTD;
var newDiv;
var navigationDiv;
var i = 1;
var currentElement = null;
$$('input.qty').each(function(el)
{
parentTD = el.parentNode;
newDiv = document.createElement('div');
Element.extend(newDiv);
newDiv.id = i++;
newDiv.update(parentTD.innerHTML).innerHTML;
parentTD.update().innerHTML;
parentTD.appendChild(newDiv);
navigationDiv = document.createElement('div');
Element.extend(navigationDiv);
navigationDiv.update('<p class="add">+</p><p class="sub">-</p>').innerHTML;
newDiv.appendChild(navigationDiv);
});
$$('p.add').each(function(el)
{
el.observe('click',function(event)
{
currentElement = el.parentNode.previous();
i = 0;
while(currentElement.type != 'text' && i < 5)
{
currentElement = currentElement.previous();
i++;
}
currentElement.value = parseInt(currentElement.value) + 1;
});
});
$$('p.sub').each(function(el)
{
el.observe('click',function(event)
{
currentElement = el.parentNode.previous();
i = 0;
while(currentElement.type != 'text' && i < 5)
{
currentElement = currentElement.previous();
i++;
}
if(parseInt(currentElement.value) > 0){
currentElement.value = parseInt(currentElement.value) - 1;
}
});
});
</script>
Add CSS
Go to skin/frontend/your-theme/default/css in the root directory of Magento and create custom.css. Add the following code in it:
.add
{
color: #3399cc;
font-weight: bold;
font-size: 20px;
text-align: center;
margin-left: 46px;
cursor: pointer;
position: absolute;
margin-top: -34px;
}
.sub
{
color: #3399cc;
font-weight: bold;
font-size: 20px;
text-align: center;
margin-left: 32px;
cursor: pointer;
}
Now, to execute your custom css file, go to app/design/frontend/your-theme/default/layout/page.xml and place following code before </default>:
<reference name="head">
<action method="addItem"><type>skin_css</type><file>css/custom.css</file></action>
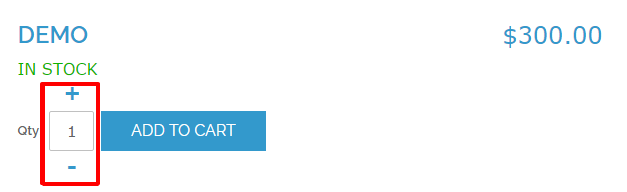
</reference>Go to your product page now and you will see the result.
Final Words
After this tutorial, you should be able to add quantity increment buttons to product page. After you’ve done this, it will be easier for your customers to add the quantity of products. I hope that you had no problem in following the simple steps of the process. If you have a problem or would like to add to the discussion, leave a comment below!